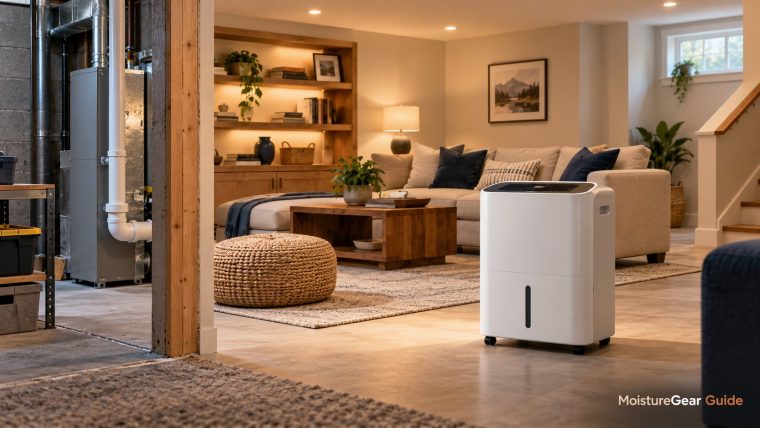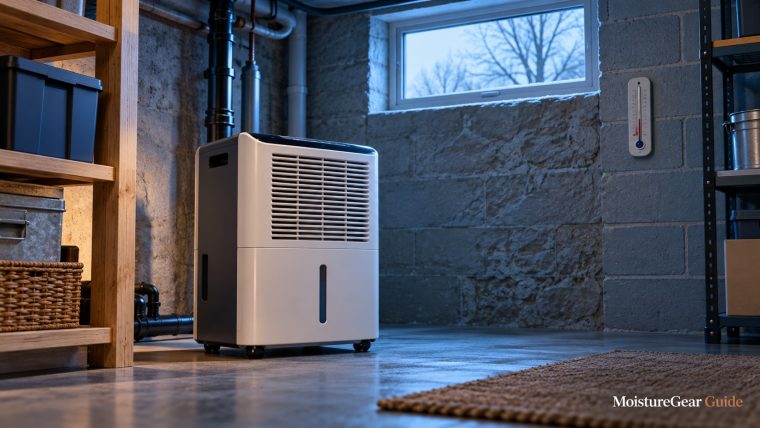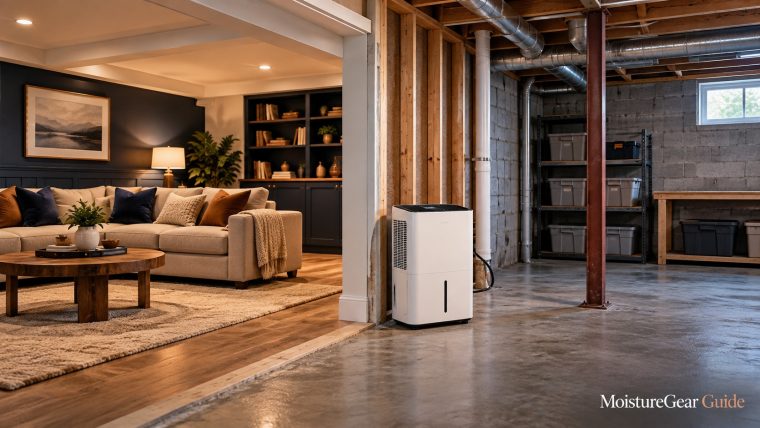

Basement dehumidifier sizing starts with the amount of moisture the space must manage, not a single square-footage promise. Floor area matters, but so do temperature, outside-air leakage, wet materials, laundry, room divisions, and the drain arrangement. A machine can be large enough on paper and still struggle because its air path is poor or the incoming water source remains active.
A sensible sizing process narrows the equipment class, checks the rating conditions, and then verifies whether the chosen arrangement controls the basement. You do not need to invent a precise daily moisture load from one humidity reading.
This guide turns primary-source buying and building guidance into a practical worksheet. It is intended for routine basement moisture control; active flooding, persistent seepage, or contaminated water damage needs a separate assessment. For equipment candidates, see the basement dehumidifier hub and main buying guide.
Step one: define the space you expect one unit to serve
Draw the basement and mark internal doors. Include the room where the appliance will sit, adjacent rooms with open air paths, and any stairwell connected to the floor above.
Measure floor area, but label isolated spaces rather than adding them blindly. A closed bedroom can remain humid even when the nearby utility room reaches the dehumidifier's target. That is an air-distribution problem before it is a capacity problem.
Note unusually high ceilings and large connected openings. A basic area estimate is useful for comparing application guidance, while the volume and connected spaces help explain why two basements of the same area can behave differently.
Write down how the house is normally used. If the basement door is usually open, assess that arrangement. If a home office is closed during calls, do not size the system as though the door is always open.
The finished versus unfinished comparison explains why room layout can be more important than the presence of finished flooring. Capacity serves the air that can reach the appliance; a bigger label does not make a wall disappear.

Step two: identify the moisture pattern
Start with observations before shopping. Look for a relationship between humidity and rain, laundry, showers, open windows, or seasonal temperature changes.
A musty feeling throughout an otherwise dry basement differs from visible liquid water entering a wall. A dehumidifier can manage water vapor while a drainage or plumbing issue continues to wet the building.
University of Minnesota Extension distinguishes rain and groundwater, indoor sources, and humid outdoor air. That distinction helps you avoid assigning every problem to insufficient appliance capacity.
Check the gutters, downspouts, grading, dryer exhaust, and obvious plumbing conditions through appropriate observation or professional help. You do not need to diagnose the whole building yourself to recognize that a new machine will not repair a leak.
Record whether dampness appears broadly or in one location. A persistently wet base of a wall deserves a different inquiry from a brief humidity increase after an indoor activity. Correcting the source can change the equipment size you ultimately need.
Step three: log temperature with humidity
Place an independent meter in a representative part of the basement and another in a problem area if the layout is divided. Keep them away from direct discharge, a heater, an open exterior window, or a surface that distorts the room reading.
Take readings at consistent times and note the weather and activities. A few days of data during humid conditions are more informative than a single midday percentage. Include cooler periods if they are part of normal operation.
Relative humidity changes with temperature. A higher percentage after the room cools does not by itself establish that more water entered the air. Conversely, a warm reading near the dehumidifier can look reassuring while a cold corner remains vulnerable.
Dew point can help interpret condensation risk when available, because surface temperature matters. You do not need to calculate dew point manually to make progress; recording temperature and relative humidity together already improves the assessment.
The cold-basement guide explains what to do when the measured temperature approaches a model’s lower operating limit. Capacity selection is meaningful only after the equipment is suitable for that environment.
Step four: use a published chart as a starting range
ENERGY STAR’s buying guidance uses both room size and dampness when suggesting portable capacity. Its ranges are screening guidance, not a site-specific load calculation.
For a space under 2,000 square feet, the chart gives different preliminary ranges for slightly or moderately damp, very damp, and wet conditions. A buyer should read the condition descriptions as well as the area column.
Do not use an extremely wet condition description to justify treating active seepage with equipment alone. A chart can help identify the expected appliance class while a water problem is addressed; it does not establish that the building is safe or dry behind its finishes.
Also avoid reversing the chart into a universal area-per-pint rule. The conditions are categories, not a linear formula for every house.
If the range points toward an ordinary portable, compare appropriately rated models and consider practical margin. If your connected area, ongoing load, or installation goals point beyond a simple portable setup, obtain an application assessment for permanent equipment.
Step five: compare capacity under the same conditions
The number in a product name is not enough. Look for the test temperature, relative humidity, and rating procedure supporting the water-removal claim.
ENERGY STAR explains the change in portable testing: newer portable ratings use a cooler test temperature than older ratings. Permanent equipment can also be published under different conditions from portable room appliances.
A 50-pint portable and an 80-pint permanent model should not be treated as though both numbers describe one identical laboratory environment. You cannot conclude that one will remove a fixed percentage more water downstairs merely by dividing the labels.
Our AHAM versus DOE guide explains the standards, while the saturation versus AHAM guide addresses the very large warm-and-humid figures seen on some dedicated equipment.
For basement sizing, the practical result is simple: compare matched ratings where available, ask for performance near your conditions, and keep any uncertainty visible. Avoid using a saturation claim as an expected daily collection amount.
What an existing appliance can tell you
If you already run a dehumidifier, record its exact model, setting, temperature range, daily collected water where measurable, and whether the room reaches a suitable target.
A machine that reaches the target and cycles under representative humid conditions provides useful evidence that the arrangement is broadly adequate. It does not establish the smallest possible replacement or guarantee performance during a different season.
A machine that runs continuously while humidity remains high provides less conclusive evidence. It might be too small, but blocked airflow, a dirty filter, continuous mode, incoming moisture, or a restricted air path can produce similar symptoms.
Water collection is also not a direct laboratory measurement of the building load. The appliance may be unable to collect all the incoming moisture, may stop when its bucket fills, or may be operating in changing conditions.
Use the constant-running guide to review those possibilities before deciding the only answer is greater capacity. Retaining a short log makes a supplier or installer discussion much more specific.
Three basements with the same area can need different plans
Open storage area with modest seasonal humidity
Imagine an open basement with no standing water, limited indoor activity, and a usable drain. A suitable portable capacity range may be a practical place to begin.
The sizing decision still needs the operating temperature and actual humidity pattern. The advantage of the open layout is that there are fewer room barriers to confuse the appliance's local reading with the whole-space condition.
Choose a location with clear airflow and a reliable drainage route, then evaluate whether the equipment maintains the space. A larger permanent installation would need a reason beyond the fact that it is available.
Divided living area with a closed office
The same measured floor area can become several operating zones when doors stay closed. One portable might control the hallway and leave the office elevated.
Increasing the pint class does not necessarily solve that distribution issue. The plan might need open air paths, more than one appropriate appliance, or professionally designed ducted treatment.
The right choice depends on use, cost, sound, and installation. Do not add the capacity labels of two units and pretend the result equals one system with a verified whole-basement output.
Laundry and persistent building moisture
A basement with frequent indoor moisture production or ongoing damp masonry asks a different question. First identify which loads can be reduced and which building conditions need repair.
Capacity may still be needed for residual humidity, but buying ever-larger equipment can obscure the source. A machine that collects a great deal of water does not prove that the foundation problem has been solved.
Consider an application assessment if the remaining load is persistent or difficult to quantify. Supply the observations and logs rather than relying only on a floor-area claim.
Sizing worksheet for a useful supplier conversation
| Information | What to record | Why it matters |
|---|---|---|
| Connected space | Area, ceiling height, open paths, normally closed rooms | Separates load from distribution |
| Operating conditions | Temperature and humidity at representative times | Checks suitability and expected output |
| Moisture pattern | Rain response, activities, damp surfaces, seasonal changes | Identifies source reduction and variable load |
| Existing equipment | Exact model, setting, runtime pattern, observed progress | Provides a practical baseline |
| Drainage | Bucket routine or complete hose and destination plan | Avoids capacity wasted during full-water stops |
| Occupancy | Office, storage, recreation, sleeping use | Influences noise and installation choices |
Send the worksheet with photographs of the intended equipment location. If a contractor recommends a permanent unit, ask which observations determined the selection and how the design addresses separated rooms.
Avoid both undersizing and automatic overbuying
A sensible margin can help equipment cope with variable humid weather. Intentionally choosing a smaller unit simply to run it all day is risky if the appliance already struggles at ordinary conditions.
On the other hand, a much larger and more expensive model is not automatically the better result. It can require installation work, create more airflow sound, or occupy a location that makes servicing harder.
Ask what problem the extra capacity solves. If the answer is a larger moisture load supported by observations, it may be justified. If the actual issue is a closed door, an uncorrected leak, or a bucket that fills, address that constraint directly.
Avoid a fixed oversizing percentage presented as a rule for every basement. The correct margin depends on the equipment's performance, operating environment, and intended control method.
For permanent equipment, professional sizing should include the installation's airflow and control arrangement. A unit can be appropriate in capacity but poorly applied if its intake samples the wrong area.
Pick a target you can evaluate
The EPA guide recommends keeping indoor relative humidity below 60%, ideally 30–50% when possible. That provides a moisture-control reference, not a promise that one setting eliminates every basement risk.
A practical initial setting for many basements is around 45–50%, adjusted to the building and use. Check the independent meters and cold surfaces as well as the number on the control panel.
Do not use the lowest possible setting as the sizing test. A unit that works hard trying to achieve an unnecessarily low target may be doing what it was asked to do rather than revealing a shortage of capacity.
Also distinguish the setpoint from the room's displayed reading. Controls have sensing location, accuracy, and cycling behavior; the target should be assessed through a trend rather than demanding identical numbers at every instant.
If a cold surface still condenses while the representative room reading seems acceptable, that calls for attention to surface temperature, localized conditions, or an additional source. A new capacity class alone may not solve it.
Ask what would change the recommendation
A useful supplier assessment should explain which assumptions matter most. Ask whether a colder inlet, closed office door, heavier laundry use, or unresolved rainwater entry would change the proposed capacity or installation.
That question helps distinguish a considered application recommendation from a generic coverage claim. It also gives you a way to evaluate later changes to the basement without starting from nothing.
If two suppliers recommend different equipment, compare their assumptions and included distribution work. They may be solving different versions of the same space. Resolve that difference before treating the larger pint label as the more careful answer.
Verify the result after installation
With the equipment installed according to its manual, track the same locations used for the initial assessment. Note the target, temperature, weather, activities, and any drainage interruption.
Initial water removal may reflect moisture leaving stored materials as well as the air. Avoid declaring failure from the first short period, but do not allow active water damage to wait while you experiment with a portable.
Look for useful progress where it matters: representative humidity trends, dry surfaces, correct water disposal, and control of normally occupied rooms. A low appliance display beside a damp isolated room is not whole-basement success.
If progress stalls, inspect the permitted user-maintenance items and review the air path. If the installed unit is working properly yet the connected space remains elevated under normal conditions, ask whether the load estimate or distribution plan needs revision.
Keep the worksheet as a record. When the weather, use, or basement layout changes, you can revisit the original assumptions. Good sizing is an informed selection followed by verification, not a single number copied from a product listing.
Selected sources
- ENERGY STAR: capacity buying guidance
- ENERGY STAR: testing conditions and rating changes
- University of Minnesota Extension: basement moisture sources
- EPA: indoor humidity and moisture control

About the author
Davis Murphy
Davis Murphy writes about dehumidifiers, indoor humidity, and home moisture control at MoistureGear Guide. His articles explain how to compare equipment, understand capacity ratings, and plan for drainage and maintenance. He focuses on clear, practical guidance to help readers choose a dehumidifier suited to their space and needs.