The best WiFi humidity sensor for crawl space monitoring needs a dependable connection from the actual mounting point, useful humidity records, and alerts you can verify from outside the house. Some products connect directly to Wi-Fi; others use Bluetooth to a separate gateway that reaches the internet. Either can suit the job, but buying a Bluetooth sensor alone will not provide live off-site monitoring.
We recommend choosing the communication path and environmental fit before comparing app features. This research guide uses official specifications and support pages inspected October 13, 2026. We have not performed range, accuracy, or battery-life tests. For related equipment decisions, visit the sizing and ownership hub and our crawl-space dehumidifier guide.
Our conditional shortlist
| Setup | Why it belongs on the shortlist | Path to off-site readings | Important limitation |
|---|---|---|---|
| SensorPush HT.w plus G1 gateway | Water-resistant sensor and a gateway you can position separately | Sensor Bluetooth to G1; G1 Wi-Fi or Ethernet to internet | Gateway is a separate purchase; final Bluetooth path must work |
| SensorPush HTP.xw plus G1 gateway | A tighter published humidity tolerance for users who need that distinction | Same gateway path | Extra barometric-pressure feature is not necessary for routine crawl-space control |
| Govee H5179 | Direct 2.4 GHz Wi-Fi monitoring without a separate gateway in this setup | Sensor directly to supported home Wi-Fi and Govee Home | No verified water-resistance rating in the inspected product page; use only a suitable protected location |
The SensorPush entries share an ecosystem. The second is a sensor-precision choice within that system, not a different networking technology. The Govee option uses a different direct-Wi-Fi arrangement. The best fit depends on which radio path succeeds through the floor and whether the installation protects the chosen hardware.
Direct Wi-Fi and gateway systems solve different routing problems
A direct-Wi-Fi sensor must reach an appropriate wireless access point from the crawl space. That can be straightforward if the router or a suitable access point is nearby. It can be difficult when the signal passes through masonry, metal ductwork, foil-faced insulation, or a distant floor layout.
A gateway system separates the two paths. The sensor reaches the gateway locally by Bluetooth, and the gateway reaches the home network by Wi-Fi or Ethernet. You can therefore position the gateway near the sensor while using a different route to the internet. That flexibility is useful, but it adds a powered component.
Neither design is automatically superior in every building. Published line-of-sight range is not a promise for your enclosed crawl space. A location that worked before insulation or ductwork changes may stop working afterward. Test the complete arrangement where it will remain installed.
Do not assume that a phone showing a strong Wi-Fi connection proves a particular battery-powered sensor will communicate equally well. Radios, antenna positions, and supported bands differ. Test the actual device rather than making the purchase solely from the phone's signal bars.
SensorPush HT.w plus G1: our first setup to investigate
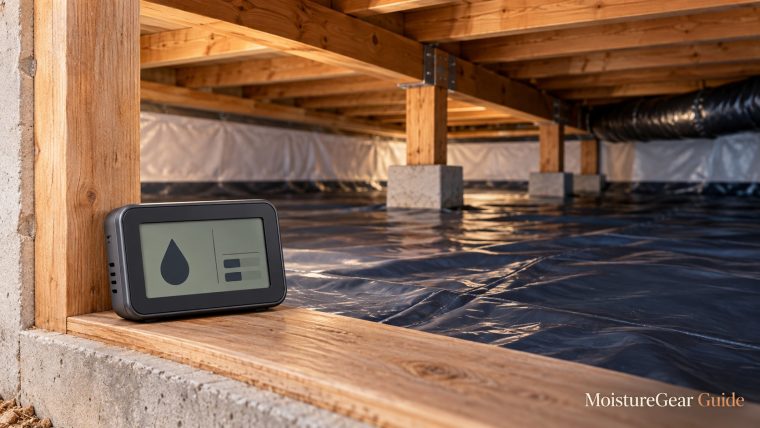
The HT.w product page describes a water-resistant sensor with seals and a protective membrane. That is relevant to a demanding under-house environment, although it does not make the device submersible or suitable for direct drain-water exposure.


The HT.w sensor and G1 Wi-Fi gateway are separate components.
Its sensor communicates by Bluetooth LE. The G1 gateway receives that data and uses Wi-Fi or Ethernet to send it to the cloud. The gateway’s Wi-Fi band is 2.4 GHz, and it needs its own power supply. Ethernet can be useful when a wired network point is available near a suitable gateway position.
We would investigate this setup first where the sensor location is damp but sheltered and a gateway can remain in a dry, accessible position within radio range. Separating the gateway from the sensor can simplify battery access and network positioning. It does not remove the need to prove both links.
The HT.w can also retain readings locally, which is useful when the connection is temporarily unavailable. Local storage and remote alerts are different functions: a sensor can preserve history during a communication gap without delivering a live alert during that gap.
The main budget caution is the gateway. A listing for the sensor alone is not the complete remote setup. Confirm both components, included power accessories, and the current app requirements before comparing its total cost with a direct-Wi-Fi device.
SensorPush HTP.xw plus G1: a precision upgrade with the same path
The HTP.xw specification publishes humidity accuracy at 77°F of ±1.5 percentage points typical and ±3 maximum over 0–80% RH. Across 0–100% RH, its typical tolerance is ±2 points, with ±3 maximum. The tighter published tolerance can be relevant when small differences affect your monitoring decision.

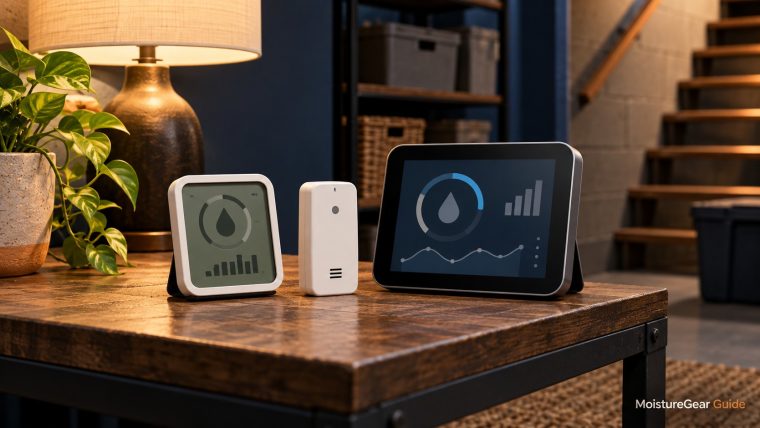
HTP.xw sensor pictured. Remote Wi-Fi access uses the separate G1 gateway shown above; the sensor is not a direct-Wi-Fi unit.
It uses the same G1 gateway arrangement for internet access. Upgrading from HT.w to HTP.xw does not fix a failed sensor-to-gateway radio path. It changes the sensor's capabilities, not the communication route through the building.
The HTP.xw also measures barometric pressure. For ordinary crawl-space humidity control, that additional measurement is usually not the purchasing priority. Choose it because the verified precision or other needed capability is useful, rather than because more numbers in an app look more professional.
A more precise published specification cannot compensate for poor placement. If the sensor sits in warm dehumidifier discharge or next to a cold surface, it may accurately describe that local pocket while misrepresenting the broader space. Spend attention on the measurement location before paying for a tighter tolerance.
We would consider this setup when a user wants the tighter documented sensor tolerance, understands its conditions, and already has or intends to install a dependable G1 path. We would not describe it as a mold detector or a substitute for material-moisture assessment.
Govee H5179: a simpler direct-Wi-Fi option for a protected position
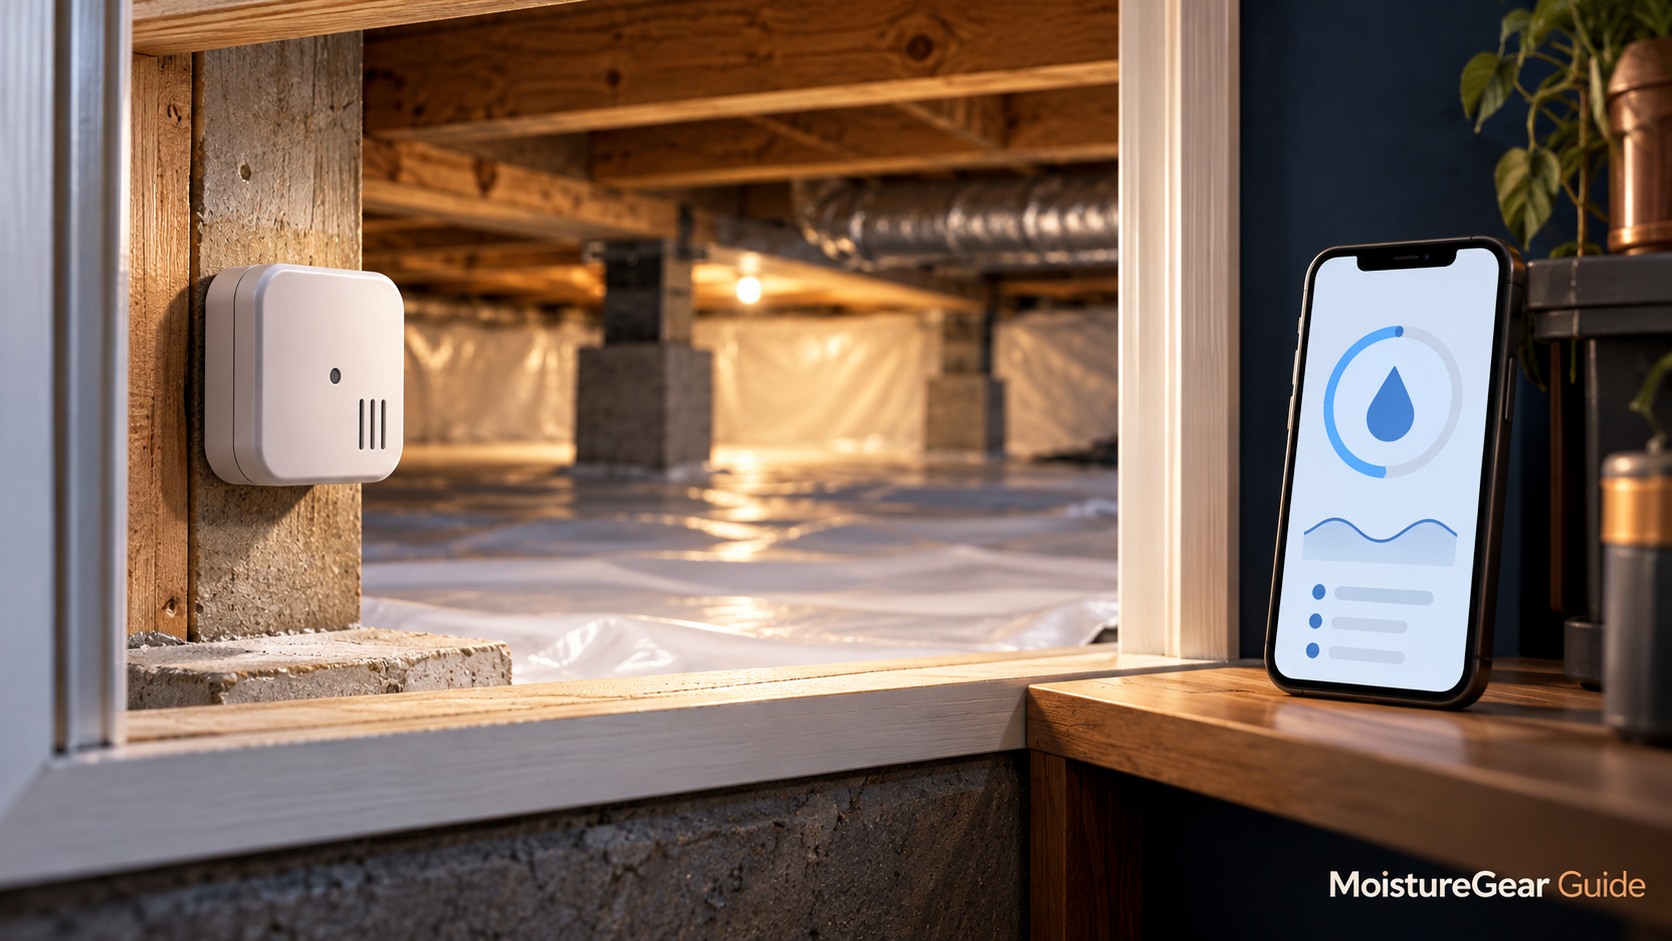
The official H5179 page identifies direct 2.4 GHz Wi-Fi monitoring through Govee Home, with Bluetooth also used for local setup and settings. It publishes ±3 percentage points RH accuracy and identifies three AA batteries. The inspected page does not establish waterproof or water-resistant suitability.

The manufacturer image includes its app illustration; displayed readings are promotional examples, not measurements made by this publication.
The appeal is a separate-gateway-free route to internet monitoring when home Wi-Fi already reaches the location. That can reduce the hardware count for one sensor. You still need the app, a suitable home network, and a location within the device's permitted environment.
Check the exact H5179 offer. Related Govee Bluetooth models can appear beside it in search results, and a Bluetooth thermometer alone should not be mistaken for the direct-Wi-Fi version. Verify the model identifier against the official page.
The manufacturer states that settings for its alert function require Bluetooth. Plan to complete and test those settings locally before putting the device in a hard-to-reach position. Off-site visibility should be tested afterward, with the phone using cellular data rather than relying on nearby Bluetooth or the home network.
The product page describes historical viewing and export, but its marketing sections use differing retention descriptions. We would verify the current app's practical history and export behavior instead of promising a particular multi-year cloud archive. Save useful exports yourself when you need an ownership record.
This is a conditional recommendation for a dry, protected monitoring position with verified signal. For a crawl space where exposure is uncertain, the documented protective design of the SensorPush options is a stronger reason to investigate those setups.
Compare ongoing fees without assuming future terms
SensorPush’s current fee FAQ says there is no monthly fee for local Bluetooth monitoring or the G1 internet service. Include the gateway purchase in the initial cost while recognizing that the current cloud service is included.
Govee's inspected H5179 page describes free data export. That does not justify an unconditional promise that every future app feature or storage service will remain free. Check the current terms for the precise functions you intend to use.
Neither of these shortlisted setups is cellular equipment. A battery in the sensor does not maintain live internet reporting if the home router, gateway, or internet connection is offline. If continued off-site alerts during an outage are essential, define that requirement before selecting a system.
Think of total monitoring cost as hardware, batteries, network equipment if needed, and any current service charge. Comparing sensor prices alone can make a multi-component gateway system look misleadingly cheap or expensive.
Confirm the environment before choosing the sensor
Crawl spaces differ considerably. A conditioned enclosure with a maintained vapor barrier is not the same environment as one with standing water or uncontrolled rain entry. An electronic monitor should be mounted within the manufacturer's operating limits and away from direct liquid water.
A water-resistant case is a useful feature, but it does not authorize placing the sensor on the ground, under a leaking drain, or inside a sealed plastic container that prevents representative air exposure. Give the sensing area room to sample the environment while protecting it as instructed.
SensorPush's outdoor-use guidance distinguishes water resistance from waterproof immersion protection. That distinction is relevant under a house as well: a splash-resistant sensor is still not intended to become submerged.
If the space is unsafe to enter or contains substantial water damage, have an appropriate professional assess it. Remote monitoring can reduce routine trips into an accessible, maintained enclosure. It cannot establish that a hazardous space is safe to enter.
Where to put a humidity sensor under the house
For general control, select representative air away from the dehumidifier's warm discharge, a direct outdoor vent, obvious leaks, and unusual local heat. Mount it where air can reach the sensor and batteries remain accessible. The chosen position should survive ordinary service work and storage changes.
A suspected damp corner can justify a second sensor. Label that one as a local problem-zone monitor, rather than letting its reading silently represent the entire crawl space. Compare temperature and humidity across positions over the same period.
Do not attach the sensor to a cold surface and then interpret every RH rise as a whole-space change. Temperature influences RH, and the mounting location can create a local measurement bias. Record the position and keep it consistent while evaluating a trend.
Our crawl-space humidity guide explains the moisture-control objective. If a HDi90 installation or another dehumidifier already has a control sensor, an independent monitor can provide another location’s reading. Differences need interpretation rather than immediate recalibration.
Place the gateway for both radio and access
A SensorPush gateway needs to hear the sensor and reach the network. Start in an accessible dry room near the crawl-space sensor's location, then test. A central upstairs router position may be poor for the Bluetooth link even when its internet connection is excellent.
Ethernet can help when Wi-Fi coverage is unsuitable near the best gateway location. Use an appropriate network installation rather than improvising exposed equipment in damp space. The gateway itself should remain in a permitted environment with its power arrangement protected.
Allow for maintenance changes. A new metal cabinet, altered insulation, or a moved access point can affect the path. Save a note of the tested positions so that a later communication problem can be compared with the original layout.
A second gateway or access-point change may be worth investigating if a large enclosure cannot be monitored reliably from one location. Confirm the manufacturer's current supported setup before purchasing additional components.
Commission remote access, not just local pairing
Set up the sensor and app while the device is accessible. Give it a useful location name, check temperature and RH are updating, and configure the relevant thresholds. Then move it to the intended position and leave it there through an initial observation period.
For a gateway system, verify both the sensor update and gateway network connection. For direct Wi-Fi, verify the sensor's network status. Examine the timestamp of the latest reading, because an old value can look reassuring even while live reporting has stopped.
Next, turn off Wi-Fi on the phone and check over cellular data. Use the manufacturer's supported alert test or a temporary harmless threshold that will generate an alert, then restore the intended setting. Confirm notification permissions and the recipient or shared-user arrangement you actually plan to use.
This test matters because successful Bluetooth pairing proves only the local link. A phone in the same room may display current data even when the gateway or cloud configuration is incomplete. Off-site testing removes that ambiguity.
Choose alerts around the decision they trigger
A useful high-humidity alert should prompt a defined action: inspect the trend, check the dehumidifier's status, or arrange a visit. Repeated alerts with no response plan become background noise. Select thresholds using the building's normal pattern and the desired target rather than copying an arbitrary app default.
Allow for measurement tolerance and brief fluctuations. A temperature change or open access door can create a short spike. If the app supports a delay or persistence setting, investigate it; if it does not, interpret the notification alongside the graph and temperature record.
Do not use a humidity alert as a substitute for a leak alarm, pump overflow protection, or electrical fault protection. RH can rise after a dehumidifier stops, but water can leak before room humidity provides a clear warning. Those are different events and require appropriate detection.
Decide who receives an alert and who can attend the property. If it is a vacation home or rental, make the practical response arrangements before relying on remote notifications. A message on a phone cannot stop an overflowing line by itself.
Read the timestamp when communication fails
When the data stops updating, distinguish a measurement problem from a connection problem. Check the sensor battery and the last successful update. Then verify the gateway or direct-Wi-Fi path, the home's internet connection, and app access from another permitted device.
A logger may later deliver stored readings after reconnection. That history can help explain what happened during the gap, but it does not retrospectively deliver the live warning you missed. Treat local buffering and live availability as separate benefits.
Avoid continually moving the sensor to regain signal if doing so destroys location consistency. Solve the radio path with a suitable gateway or network position while preserving representative measurement where possible. Document any unavoidable location change.
Keep the model's battery type and replacement instructions in your ownership record. A timely battery change in an accessible position is easier than troubleshooting an unexplained stale value during the humid season.
Use logs to improve the equipment decision
Compare temperature, humidity, dehumidifier operating status, and relevant weather or household events. A rising RH trend at stable temperature deserves a different investigation from an RH change driven mainly by cooler air. The data helps frame the question, rather than diagnosing the building by itself.
For a new system, preserve the initial drying period separately from maintenance operation. Later comparisons are more useful when the enclosure and control settings remain consistent. Record changes such as a repaired drain, new vapor barrier work, or a different dehumidifier setting.
A sensor graph can also show whether a distant section remains humid while the area near the dehumidifier is controlled. That may suggest an airflow or enclosure issue to discuss with the installer. It does not prove that a bigger machine is the only answer.
If a simple local display would meet your needs, our basement hygrometer guide offers a less connected approach. Remote monitoring is worth paying for when it changes what you can observe or how quickly you can respond.
Preserve the records you may need later
Export useful history before changing an account, replacing a sensor, or ending a monitoring arrangement. Save the sensor name, location, dates, and units alongside the data so a later installer can understand the record. An unlabeled spreadsheet of humidity values is less useful than a shorter clearly documented period. If an app changes its retention features, your own saved records still preserve the observations used for an equipment decision. Include notes about moved sensors and revised setpoints; otherwise a change in the graph can be mistaken for a change in the building.
Which setup should you buy?
Investigate HT.w plus G1 for a protected but demanding crawl-space location where separating the gateway helps the radio path. Consider HTP.xw plus G1 when its tighter published tolerance is useful and the same gateway arrangement is already suitable. Consider H5179 when a protected mounting point has verified 2.4 GHz Wi-Fi and a direct connection simplifies the system.
Confirm the exact model, complete hardware cost, current app functions, environmental limits, and an off-site alert test. Then keep a small commissioning record. A dependable timestamped reading from the correct place is more valuable than a sophisticated app that mostly displays yesterday's number.
Selected primary references
- SensorPush HT.w specifications
- SensorPush HTP.xw accuracy conditions
- SensorPush G1 gateway: Wi-Fi, Ethernet, and power
- SensorPush current monthly-fee policy
- Govee H5179: exact direct-Wi-Fi model
- SensorPush protection and outdoor-use guidance

About the author
Davis Murphy
Davis Murphy writes about dehumidifiers, indoor humidity, and home moisture control at MoistureGear Guide. His articles explain how to compare equipment, understand capacity ratings, and plan for drainage and maintenance. He focuses on clear, practical guidance to help readers choose a dehumidifier suited to their space and needs.