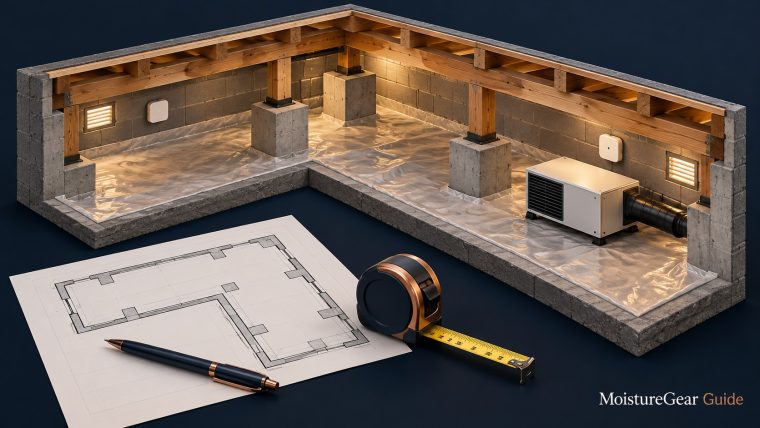
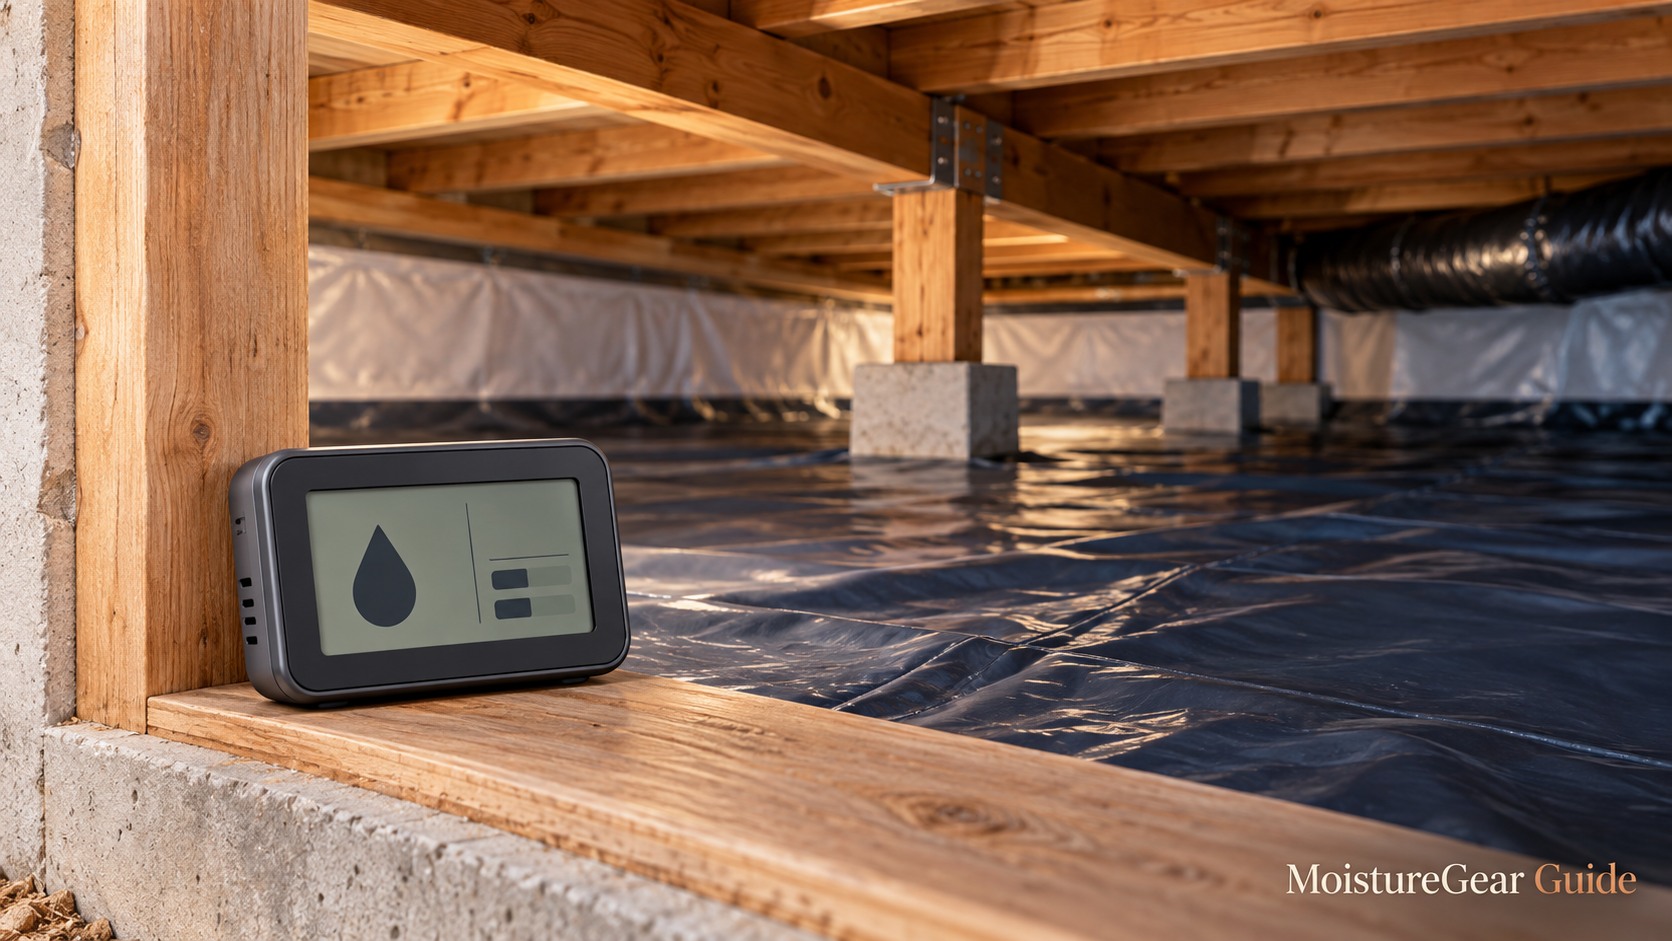
The ideal crawl space humidity is a stable, monitored condition that avoids persistent dampness rather than the lowest percentage your dehumidifier can display. General indoor guidance favors relative humidity below 60%, ideally around 30%–50%, but a crawl-space plan also needs to consider temperature, cold surfaces, wood conditions, and the building’s moisture sources. A single reading beside the machine cannot settle all of those questions.
A target near the upper end of that preferred indoor range can be a useful starting discussion with your installer. The important check is whether representative parts of the crawl space remain appropriately dry without condensation or unresolved water entry. Our crawl-space dehumidifier hub connects this monitoring guide with equipment selection and sizing.
What the humidity targets actually mean
The EPA’s moisture guide advises keeping indoor RH below 60%, ideally 30%–50%. NC State Extension’s basement and crawl-space checklist offers the same general range. These are useful reference points, not proof that a particular percentage certifies every material beneath your home as dry.
Use the range to guide monitoring and source investigation. Persistently elevated RH deserves attention, especially when accompanied by condensation, damp insulation, or visible water evidence. It should not simply prompt repeated reductions in the dehumidifier’s setting without checking why the environment is humid.
The low end is not automatically a better appliance target. A crawl space is not a room where you are trying to optimize comfort by chasing an extremely dry reading. Ask the equipment to maintain the agreed building conditions within its intended operating limits.
If a contractor recommends a different target, ask for the reasoning: the temperature, materials, observed moisture, and monitoring position should be part of that explanation. A useful recommendation relates to the home rather than relying only on a slogan about the ideal percentage.
Relative humidity, dew point, and wood moisture are different measurements
| Measurement | What it describes | What it can help you understand | What it does not prove alone |
|---|---|---|---|
| Relative humidity | Water vapor relative to saturation at the current air temperature | Conditions at the sensor and changes over time | That all surfaces and materials are dry |
| Dew point | Temperature at which the air would reach saturation | Condensation risk when compared with a surface temperature | The source of incoming moisture |
| Wood moisture content | Water in the measured wood | Material conditions at the tested location | Conditions throughout the entire crawl space |
| Visible water evidence | Liquid water or signs of wetting | Need to investigate leakage, entry, or condensation | How much daily air-drying capacity is needed |
The National Weather Service’s dew-point explanation clarifies why temperature matters. Air can change RH as it warms or cools without the same change in actual water-vapor content. That is why a temperature reading belongs beside the humidity percentage.
Material measurements need appropriate instruments and interpretation. A wood-moisture meter reading can be affected by the instrument, species setting, location, and method. It should not be casually substituted for the RH sensor or interpreted as a whole-home structural assessment.
Why a cool crawl space can show high RH
When air cools without losing water vapor, its RH rises. A crawl space can therefore have a higher percentage than a warmer living area even when the air’s water content is similar. That does not make the percentage irrelevant; it makes temperature essential to interpreting it.
Cool surfaces add another issue. If a surface is at or below the air’s dew point, moisture can condense there. A duct or pipe may become wet even though the sensor in the open space does not show 100% RH. The surface environment and the bulk-air measurement are not identical.
Building Science Corporation’s crawl-space analysis describes how humid summer air and cooler crawl-space surfaces can create moisture problems. It is a reason to evaluate the air entering the space, the enclosure, and the surfaces rather than assuming more ventilation always dries things out.
If condensation continues despite apparently acceptable sensor readings, have the affected surfaces and source conditions assessed. Simply lowering the target may increase appliance operation while leaving part of the underlying problem unresolved.
Pick a representative sensor location
Place the monitor where it samples the area you want to understand. Avoid the immediate dry-air discharge, direct contact with damp surfaces, and positions where a vent feeds outdoor air straight past the sensor. The monitor should remain within its own environmental limits.
A location near the access hatch may be convenient, but it may not represent the far end. Foundation walls, ducts, and isolated bays can create different conditions. Where the layout is divided, compare more than one position before deciding the entire space is controlled.
Follow the sensor manufacturer’s instructions for mounting, stabilization, calibration checks, and battery care. If the unit logs data, retain both temperature and RH rather than only the maximum percentage. Note any move to another position so the record does not appear to show an environmental change that is actually a location change.
Our Wi-Fi crawl-space sensor guide explains remote observation options. A remote display can make monitoring easier, but signal, power, and alert behavior need to suit the actual installation.
Expect some disagreement between sensors
Two humidity sensors can show different values because of their specified accuracy, their positions, stabilization, or calibration. A one-point difference should not automatically trigger a service call or a change to the appliance setting.
To investigate a persistent disagreement, compare sensors beside each other under stable conditions according to their instructions. If they continue to differ substantially, consult the product guidance or use an appropriate reference method. Do not invent a correction factor from one brief comparison beside the dehumidifier outlet.
Read accuracy claims carefully. A percentage-point specification describes uncertainty under stated conditions; it is not a promise of perfect readings at every temperature and humidity. A sensor with finer display resolution does not necessarily have better measurement accuracy.
Once you understand the instruments, use the same locations and method for ongoing comparisons. Our hygrometer buying guide discusses accuracy and data logging in another below-grade setting.
Keep a short monitoring record
Record date, temperature, RH, sensor location, notable weather, and the appliance setting. Add a brief note after rain, plumbing work, a power interruption, or a change to the crawl-space enclosure. That context often explains a trend better than a bare humidity graph.
A logger can show overnight or seasonal behavior that spot checks miss. Look for sustained conditions and repeated patterns rather than only a single maximum. A short-lived spike near an opened hatch is different from persistently elevated readings across several days.
If the monitor provides remote alarms, choose settings that serve a response plan. Decide who sees an alert and what they will check. An alarm that is routinely ignored because it responds to every minor fluctuation is less useful than one that highlights a sustained departure from the agreed conditions.
Preserve the initial record after installation. It gives you a baseline for later changes and helps the installer see whether the control, drainage, or source conditions have changed.
Read common patterns before changing the setpoint
| Observed pattern | A useful next question |
|---|---|
| RH rises as temperature falls | Has water-vapor content changed, or is this largely a temperature effect? |
| RH rises after rain in several locations | Is there new water entry or a change in incoming moisture? |
| Area near unit is dry, distant bay stays humid | Is the air-distribution path reaching the far section? |
| Humidity rises while a pump or drain fault appears | Has condensate removal interrupted appliance operation? |
| Air readings look satisfactory but materials remain wet | Is there a local source or material condition needing separate assessment? |
| Appliance display differs from independent sensor | Are location, control sampling, and sensor accuracy affecting the comparison? |
These are investigation prompts rather than diagnoses. More than one cause may be present, and a graph cannot identify a plumbing defect on its own. Use the pattern to guide inspection and professional support where needed.
Our placement guide addresses distribution, while the pump-not-draining guide covers accessible drainage checks. Keeping those tasks distinct prevents a humidity concern from becoming an unnecessary equipment replacement.
Summer changes and the ventilation question
Humid outdoor air can add moisture when it enters a cooler crawl space. Its dew point is more useful than outdoor RH alone when comparing air conditions. A warm day with a moderate RH percentage can still bring in air that condenses on cold surfaces below the house.
Opening vents is therefore not a universal cure for summer dampness. Conversely, closing every opening without assessing the building is not a universal improvement. Flood requirements, combustion equipment, ventilation design, and the intended enclosure matter.
Have changes to the crawl-space system planned for the specific home and local requirements. The dehumidifier and monitoring target should be part of that plan rather than an appliance-based instruction to alter the building casually.
When reviewing a summer trend, record outdoor weather, the crawl-space temperature, and any newly observed wetting. If the environment repeatedly becomes humid despite a working machine, investigate the incoming load and enclosure before assuming a lower target is the answer.
Rainfall, ground moisture, and sudden changes
A sharp change after rain deserves a look at liquid-water entry and drainage. A dehumidifier can remove vapor after wetting, but it cannot repair the path that brings rainwater beneath the home. Repeatedly drying the symptoms may leave a continuing problem hidden.
PNNL’s crawl-space water-management guidance places source and drainage work before an enclosure retrofit. Use that order when a humidity record suggests a recurring weather-related issue.
Ground cover should be evaluated for continuity, damage, and the details required by the building’s system. A patch of uncovered soil or an opening around a penetration can matter even when most of the floor looks covered. Do not infer that an encapsulation project is complete solely from the presence of white liner material.
If there is standing water or evidence of contamination, arrange the appropriate help. A sensor alarm is a reason to investigate safely, not an instruction to enter an unsafe crawl-space section.
Setting the dehumidifier without chasing fluctuations
Start from the installer’s or manufacturer’s advice within the overall moisture-control plan. Record the setting and compare independent readings after the system has operated through a representative period. A control setting and a measured RH value are related but not necessarily identical at every moment.
Controls may sample the inlet, use a separate sensor, and cycle within a designed range around a setpoint. The exact behavior belongs to the model’s manual. Do not diagnose a fault simply because a display is briefly above the chosen number.
If the crawl space stays too humid, check sources, airflow, filter condition, drainage, temperature, and sizing. Our crawl-space sizing guide explains why lowering the target cannot compensate for an unsuitable system or an uncontrolled moisture source.
Continuous operation also needs interpretation. It may occur during initial drying or demanding conditions, but it is not evidence by itself that the machine is correctly sized. Record what the environment does while the equipment runs and use that evidence in the follow-up assessment.
Air humidity is not a mold-clearance test
Improved RH does not prove that existing mold has been removed or that every material is sound. Visible growth, persistent musty odor, wet insulation, or deteriorating wood needs its own assessment. Keep the appliance’s purpose clear: it helps control the air environment within a wider moisture plan.
The EPA guide treats fixing moisture sources and completing cleanup as separate requirements. A favorable sensor reading is useful evidence, but it cannot certify that required cleanup or repair work has occurred.
Avoid disturbing suspected contamination simply to get another measurement. If hidden damage is suspected or access is unsafe, use an appropriate professional. A monitoring article cannot determine the safety of a particular crawl space remotely.
You can still use the humidity record to support that work. Provide the sensor positions, dated readings, weather observations, and photographs of visible issues so the assessment starts with clear information.
Recheck the environment after building work
Plumbing repairs, new ductwork, liner maintenance, insulation changes, or an equipment relocation can alter the conditions and the air path. Mark these events in the log and compare the same sensor locations afterward.
A sensor accidentally moved closer to the discharge can make the graph look better without improving the rest of the crawl space. A new obstruction can have the opposite effect in a separate bay. Keep placement consistent or document the change.
Inspect the accessible drain and support arrangement after work under the home. A displaced hose or cord may be easier to notice during that check than after a humidity alert several days later. Routine appliance maintenance should follow the exact manual; our cleaning guide addresses appropriate owner tasks.
Continue observations through representative seasons rather than declaring success from one favorable day. Stable conditions, dry surfaces, functioning drainage, and no unresolved water entry together tell a more useful story than the lowest number on a graph.
A practical approach to ongoing humidity control
Agree on a target with a clear reason, place suitable sensors, and keep enough context to interpret the readings. Investigate sustained changes rather than reacting to every small movement. Compare distant sections when the layout suggests that one sensor cannot represent the whole space.
If readings remain unsatisfactory after source and installation checks, reassess the equipment through our crawl-space buying guide. The goal is a system that maintains the intended environment under real conditions, with monitoring that helps you notice meaningful changes.
A useful target guides action. It should help you recognize when the crawl space needs attention while avoiding the false certainty that one percentage proves all moisture concerns have been resolved.
Selected sources
- EPA: A brief guide to mold, moisture, and your home
- NC State Extension: Mold and moisture checklist
- National Weather Service: Dew point versus humidity
- Building Science Corporation: New light in crawl spaces
- PNNL: Crawl-space floor water management
About the author
Davis Murphy
Davis Murphy writes about dehumidifiers, indoor humidity, and home moisture control at MoistureGear Guide. His articles explain how to compare equipment, understand capacity ratings, and plan for drainage and maintenance. He focuses on clear, practical guidance to help readers choose a dehumidifier suited to their space and needs.