Knowing how to clean a crawl space dehumidifier starts with identifying the exact model and separating routine owner maintenance from internal service. Filters, accessible cabinet surfaces, and the external drain route need attention, but cleaning instructions are not interchangeable between brands or generations. Use the checklist below to organize the job, then follow the matching manual for the actual filter and drainage components.
The aim is dependable airflow and drainage, with enough access to inspect the unit afterward. For related ownership tasks, use our sizing and maintenance hub or the crawl-space placement guide. Poor access makes even a simple filter task harder than it needs to be.
First identify what is installed
Photograph the model label and note the serial number, filter part number, pump configuration, and any optional duct kit. Download the manual that matches that identifier. A document for a related model can describe a different filter, gravity outlet, internal pump, or maintenance sequence.
Keep the actual installed filter in mind, too. A model may accept both a basic washable screen and an optional replacement filter. The option you purchased determines the cleaning or replacement method. A higher MERV number is not permission to wash the media.
The AlorAir HDi90 product page, for example, distinguishes a standard filter from an optional MERV-8 choice. That product-family information should lead you to the installed component’s instructions, rather than to a universal cleaning recipe.
Check whether the unit was updated after the original installation. A replacement appliance can retain the old nearby manual or service notes. Use the label on the machine, not a name remembered from the previous equipment.

A useful boundary for the cleaning job
| Area | Appropriate owner-level starting point | When to involve service |
|---|---|---|
| Accessible exterior | Manual-approved wiping and visual inspection | Damaged cabinet, liquid intrusion, or electrical concerns |
| Removable user filter | Clean or replace exactly as specified for that media | Unclear filter identity, damaged holder, or inaccessible service panel |
| External hose route | Inspect for movement, damage, kinks, and correct termination | Internal blockage, fittings requiring repair, or unsafe access |
| External pump reservoir | Follow the separate pump’s owner-maintenance instructions | Electrical faults, internal repair, or unresolved high-water condition |
| Coil or refrigerant circuit | Request a model-specific service plan | Internal access, chemical application near components, or sealed-system work |
This division keeps the task useful without treating every service chapter as a novice repair guide. A manual can contain instructions intended for technicians as well as routine owner tasks. If access requires opening an electrical or refrigerant compartment, stop the routine cleaning sequence and obtain qualified help.
Prepare access before handling the appliance
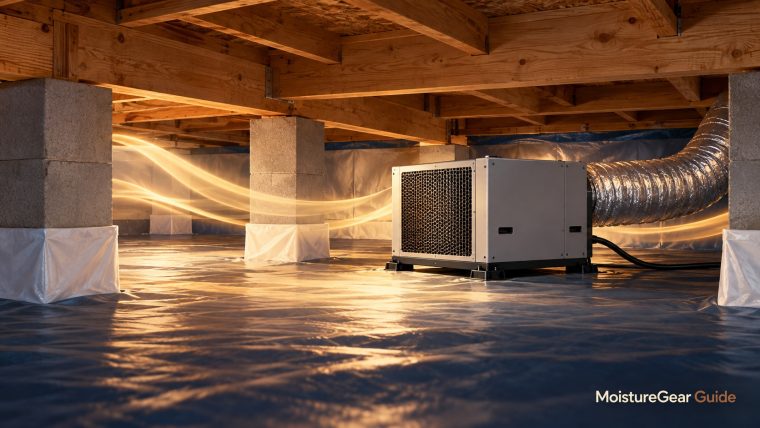
Check that the crawl space can be entered safely and that you have a clear route to the equipment. Do not begin routine appliance cleaning in standing water, near damaged wiring, or in an enclosure with an unresolved contamination problem. Those conditions require a separate assessment.
Use adequate light and a place to keep the manual, clean filter, and small tools away from dirt. A shallow container or clean work surface outside the crawl space is useful for a removable filter. Avoid dropping dirt back into the intake during reinstallation.
Inspect the installed support and nearby objects before moving anything. A drain hose, duct, or power connection can be pulled when the unit is shifted. If routine maintenance requires dragging the entire appliance around, discuss better service access with the installer.
Record any humidity or error indication before shutdown. That information helps distinguish a preexisting problem from an issue that appears after cleaning. It can also prevent an unnecessary assumption that every fault was caused by a dirty filter.
Shut down and isolate power in the correct order
Use the manufacturer's normal shutdown procedure. Some models continue a fan or drainage sequence briefly after the control is switched off. Allow the specified sequence to finish rather than cutting power as a normal substitute for the control.
Then disconnect or isolate power as the manual requires before maintenance. The current HD55S manual explicitly requires unplugging before maintenance. For a hardwired installation, have the installer show the appropriate isolation arrangement rather than handling wiring yourself.
Keep electrical connections dry. Do not clean around a wet plug or use an improvised power arrangement to restart the unit temporarily. If the supply area is affected by water, resolve that through qualified electrical help before continuing.
If you need to move a pumped appliance, follow its particular purge and transport instructions first. Do not assume a gravity-only model and a built-in-pump model retain or discharge water in the same way.
Inspect the filter before choosing a method
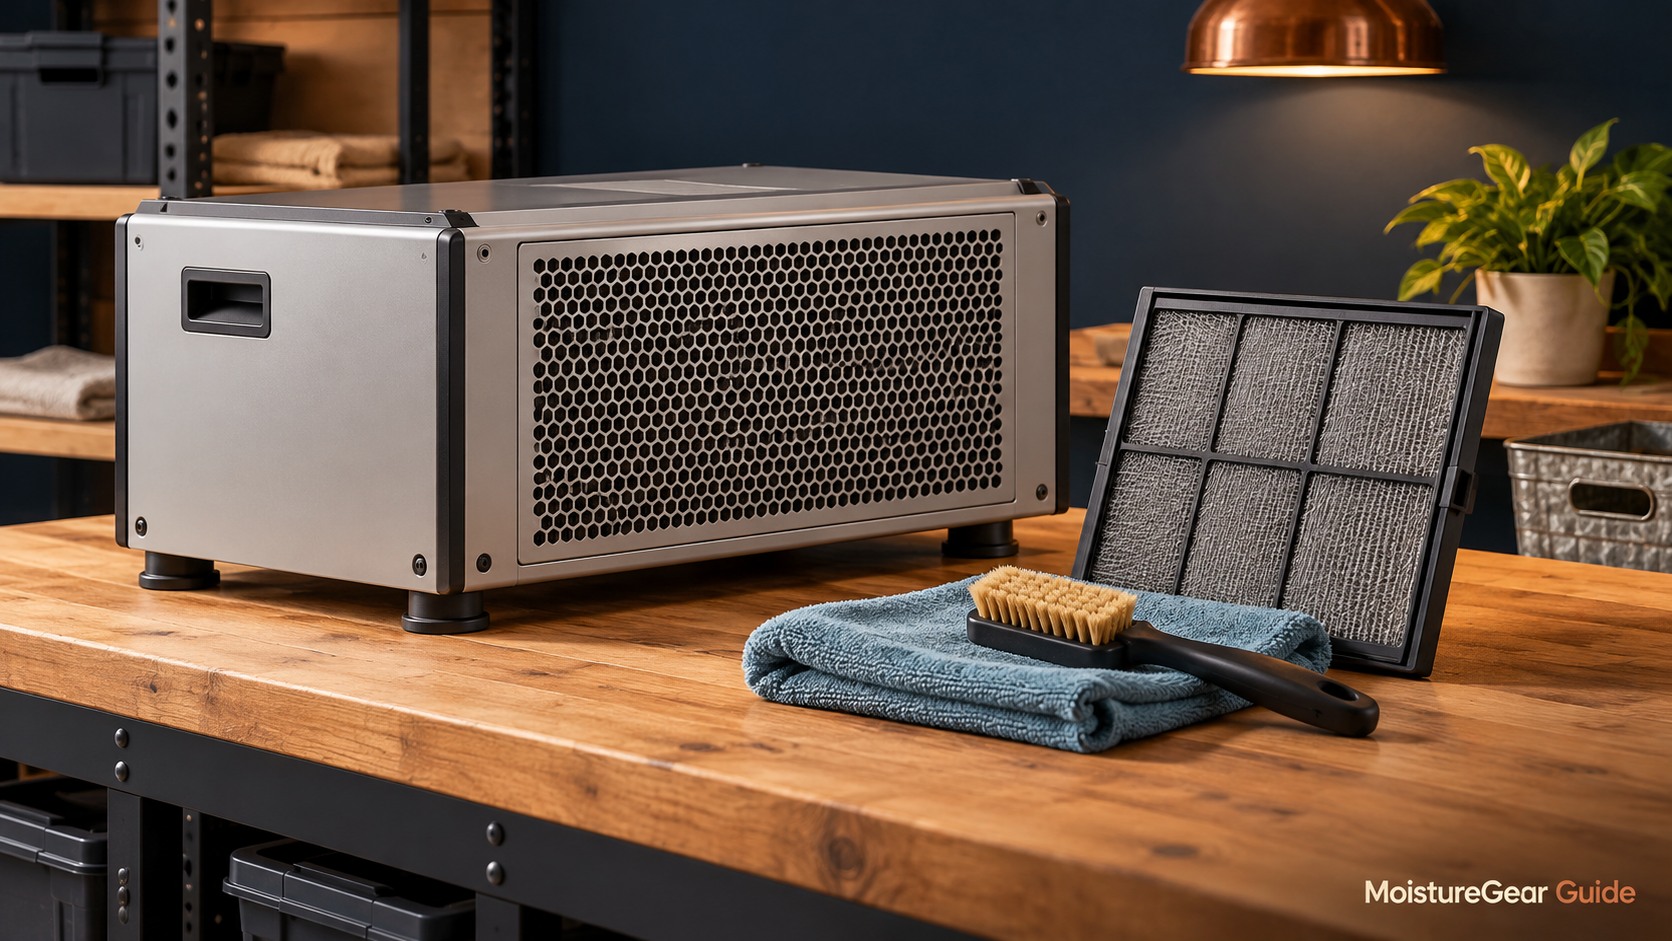
Remove only the filter identified as user-removable in the manual. Note its orientation and any directional markings. Photograph it in position if the arrangement is not obvious. Look for accumulated debris, tears, distortion, damaged seals, or a filter that was installed loosely.
A filter that is damaged or no longer seats correctly may need replacement rather than more aggressive cleaning. The replacement needs to match the specified dimensions and type. Cutting an unrelated filter to fit can create bypass gaps or affect airflow.
If the manual permits vacuuming, use the gentle method it describes. If it permits washing, use its stated water temperature, cleaner, rinsing, and reinstallation requirements. If the filter is disposable, replace it with the approved type rather than turning it into a washable component.
Do not run the appliance without a required filter while waiting for a cleaned one. Arrange the maintenance around a suitable spare if the manufacturer allows that approach. A second correct filter can simplify the task without changing the equipment's intended airflow arrangement.
A specific washable-filter example
AprilAire's 5881 filter page identifies a washable filter for listed E080/E100 variants and other specified equipment. Its light-cleaning procedure includes removing loose dust, rinsing both sides, and shaking off excess water. For deeper cleaning, it permits warm water with mild detergent, followed by thorough rinsing and excess-water removal.
Those directions belong to that exact filter. They are not a reason to use detergent on an AlorAir cabinet, a disposable optional filter, or every dehumidifier coil. Read both the installed appliance instructions and the filter's guidance, including the required condition before reinstallation.
This example illustrates why apparently conflicting online advice can both be correct for different components. One filter may permit mild detergent, while another manufacturer's exterior instructions prohibit soap. The task is to match the method to the material and part, not choose whichever cleaning rule sounds strongest.
Clean the cabinet with the permitted method
The inspected HD55S manual specifies a soft damp cloth for the exterior and says not to use soap or solvents. Follow the equivalent instruction for your own model. Avoid directing water into the intake, controls, electrical connections, or case seams.
Remove nearby loose debris that could immediately obstruct the intake again. Keep the specified inlet and outlet clearance open. Stored insulation, a loose vapor-barrier flap, or items pushed against the grille can reduce useful airflow even when the filter itself is clean.
Do not straighten metal coil fins with improvised tools or probe inside a fan opening. Cabinet cleaning is not internal servicing. If you observe bent components, unusual corrosion, or debris beyond the user filter, document it for the service provider.
The practical result should be a clean, accessible exterior and unobstructed air path. A polished cabinet is not proof that the internal heat-transfer surfaces or drainage are functioning correctly.
Inspect the external drain from start to finish
Follow the drain hose visually from the appliance to its destination. Check that the connection remains secure, the tube is not pinched, and the route still matches the installed plan. A hose can move when other trades work in the crawl space or when the equipment is repositioned.
For gravity drainage, check the permitted fall and any model-specific trap arrangement. For pumped drainage, inspect the approved tube, bends, lift route, and termination. Our gravity versus pump guide explains why these routes are different.
Do not force high pressure, metal rods, or a chemical mixture through the line unless the exact manufacturer procedure permits it. Small fittings, check valves, and internal collection components can be damaged. If the accessible route is sound but drainage remains poor, the next step is diagnosis, not a stronger improvised cleaner.
Also inspect where the water ends up. A tube that has fallen out of its intended receptor can leak while the pump itself works correctly. Outdoor lines can introduce freezing or foundation-water concerns. Correct termination is part of maintenance, not merely an installation detail.
Treat an external pump as separate equipment
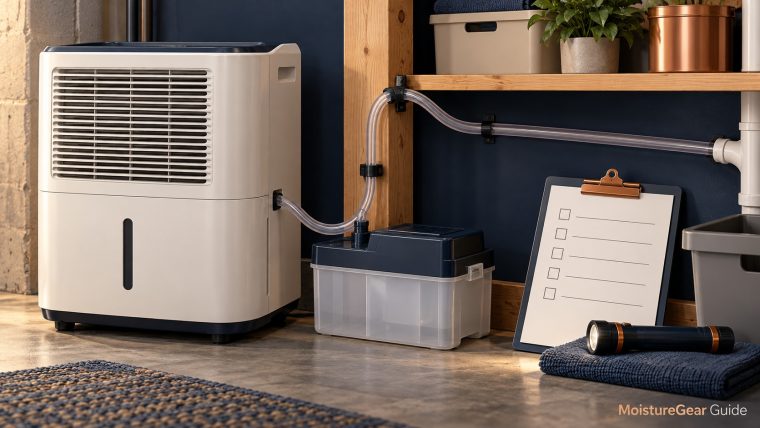
An external reservoir pump has its own model, manual, electrical supply, and maintenance requirements. Its tank and float arrangement should be inspected only through the owner-level procedure the manufacturer provides. Do not assume the dehumidifier's cleaning instructions cover it.
Check the gravity hose feeding the reservoir separately from the pump's pressured discharge. A full reservoir may indicate a discharge problem; a dry reservoir while water backs up at the dehumidifier may indicate a feed problem. Observations like those help frame a service request without opening electrical components.
If a high-water alarm, switch, or shutdown occurs, preserve that indication and stop unattended operation until the cause is resolved. Do not bypass a switch so the dehumidifier can resume collecting water into a failed drain arrangement.
The pump-not-draining guide gives a safe inspection order, and the external pump selection guide explains model and tubing compatibility for replacement decisions.
Coil cleaning needs model-specific service judgment
Coils are part of the refrigeration assembly. A dirty coil can affect performance, but the right access and cleaning method vary. Some manuals describe an approved cleaner; that does not make all chemical applications or case-opening steps suitable for an inexperienced owner.
Ask the manufacturer or installer who should perform the task on your exact model, what cleaner is approved, and how electrical components and drainage are protected. Follow the current procedure instead of combining an older manual's chemicals with a newer machine's design.
Never mix cleaners or apply a general disinfectant merely because the space smells musty. Cleaning and disinfecting are different tasks, and a chemical suitable for one building surface may be unsuitable for equipment. A coating or residue can also create a new service problem.
Refrigerant leaks, repeated unusual frost, damaged wiring, fan repairs, and pump replacement belong outside routine cleaning. Give the service provider the model and symptoms rather than opening the machine to investigate those faults yourself.
Restart and observe the result
Reinstall the correct filter and any owner-removable covers as instructed. Confirm the intake, outlet, drain route, and power arrangement before startup. Restore the normal setpoint, rather than switching to the lowest possible target solely to force a visible water output.
Use the manufacturer's restart sequence and allow any normal delay. Inspect for new leaks or abnormal sounds and confirm that the drain works during the subsequent collection period. A dry discharge immediately at startup does not necessarily indicate failure.
Monitor room temperature and humidity in a representative location. If the unit reaches its intended control level, that is more useful than trying to reproduce a laboratory daily pint total. If it remains unable to control the space, cleaning may have addressed only part of the problem.
For model-specific purchase context, see our HD55 review and HDi90 review. Filter access and drainage arrangements should be considered before replacing an appliance whose basic maintenance is impractical.
Build a maintenance rhythm from the actual space
Start with the manual's intervals, then inspect more closely during the initial operating period or unusually dusty conditions. A renovation, pest activity, disturbed insulation, or other change can alter what the intake encounters. A universal monthly or annual rule cannot account for every installation.
Make a brief record after each visit: filter condition, cleaning or replacement performed, drain condition, observed humidity, and any error. Record the exact part used when replacing a filter or valve. Those details are helpful if a fault later needs warranty review.
AprilAire’s maintenance FAQ identifies filter and drain cleaning as required E-series maintenance and directs owners to their matching manual. It is a useful example of the relationship between a general maintenance category and model-specific instructions.
Remote humidity monitoring can help reveal a change between visits, but it cannot inspect a hose connection or filter visually. Keep an appropriate physical inspection schedule even when the app normally shows reassuring readings.
When cleaning does not solve the problem
Persistent high humidity after appropriate maintenance can reflect an incoming moisture source, an unsuitable setpoint, limited air distribution, operating temperature, or capacity. Document the conditions and discuss them with the installer. Repeating a cleaning task is not a substitute for identifying the load.
Standing water or a recurring wet patch requires source investigation. A dehumidifier removes vapor from air; it does not repair plumbing, foundation drainage, or rain entry. Resolve those pathways as part of the building's moisture plan.
If visible growth or suspected contamination affects the enclosure or equipment, treat it as a separate problem. EPA’s moisture and mold guidance emphasizes fixing the water problem alongside cleanup. Routine appliance maintenance does not establish that a contaminated crawl space has been remediated.
A compact record to keep near the manual
| Maintenance record | Why it is useful |
|---|---|
| Model and serial number | Identifies the correct instructions and warranty record |
| Installed filter part | Prevents washing or replacing the wrong media |
| Date and observed condition | Shows how quickly debris returns |
| Drain route photograph | Helps identify later movement or obstruction |
| Humidity and temperature trend | Connects maintenance with the real space’s response |
| Service advice or replaced part | Preserves the approved method for the next visit |
The record need not be elaborate. A dated note and photographs are enough to make the next maintenance visit more efficient and a service call more specific. The best cleaning routine is one you can carry out correctly with safe access, the right parts, and a clear way to check the result.
Selected primary references
- AlorAir HD55S manual: shutdown and exterior maintenance
- AlorAir HDi90: filter configurations
- AprilAire 5881: exact washable-filter procedure
- AprilAire E-series maintenance FAQ
- EPA: moisture sources and cleanup
About the author
Davis Murphy
Davis Murphy writes about dehumidifiers, indoor humidity, and home moisture control at MoistureGear Guide. His articles explain how to compare equipment, understand capacity ratings, and plan for drainage and maintenance. He focuses on clear, practical guidance to help readers choose a dehumidifier suited to their space and needs.