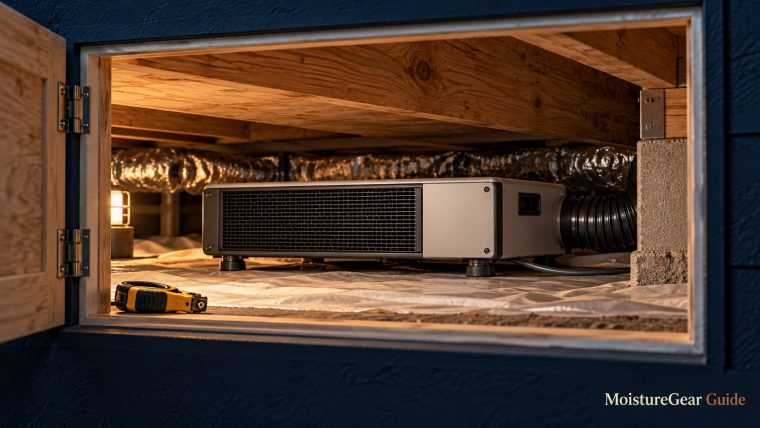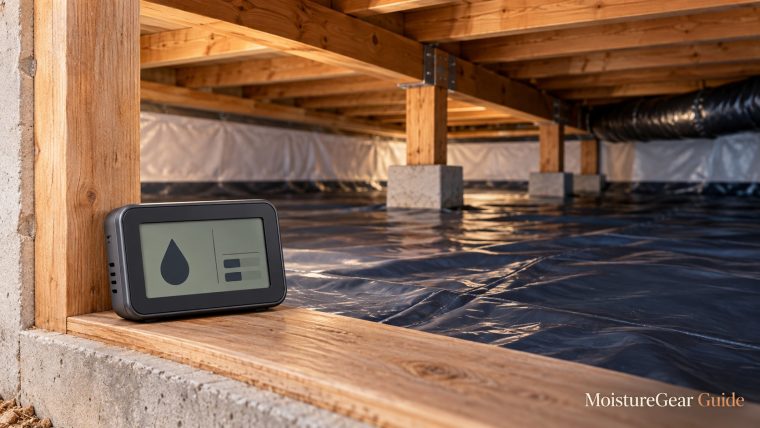
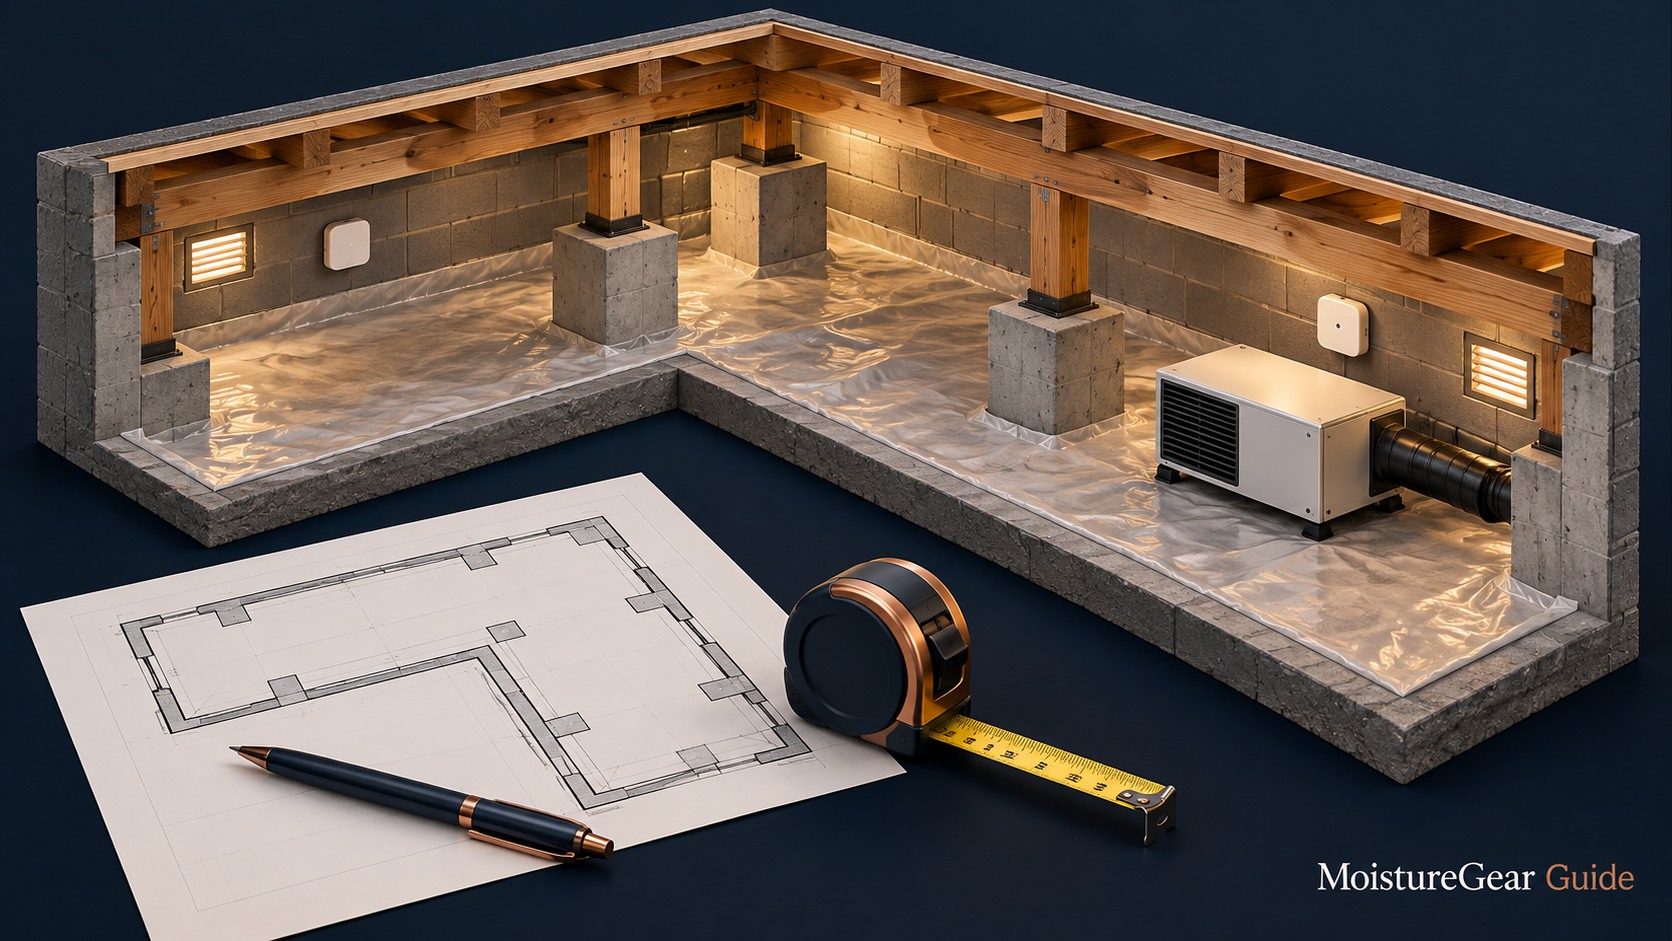
Crawl space dehumidifier sizing begins with the moisture entering the space and the conditions the equipment will face, not a single square-footage calculation. The footprint matters, but so do ground moisture, enclosure quality, temperature, air movement between sections, and the humidity target. A correctly chosen machine must work within that complete situation.
This guide explains how to collect useful information, compare capacity figures fairly, and evaluate a recommendation before you buy. For equipment options after that assessment, use our crawl-space dehumidifier hub and crawl-space buying guide.
What “size” means in this decision
A dehumidifier has a physical size and a rated moisture-removal capacity. They solve different problems. The cabinet must fit the route and installation position; the extraction capacity must be suitable for the ongoing moisture demand. Finding equipment that meets only one requirement is not enough.
Capacity is normally stated as pints removed over twenty-four hours at specified test conditions. It is not the size of an onboard bucket, and it is not a promise to collect that volume every day. A machine controlling already-drier air will not necessarily collect as much as it does under a warm laboratory condition.
ENERGY STAR’s buying guidance identifies the space and its conditions as key sizing factors. Treat its portable-equipment guidance as guidance for that equipment class rather than converting a chart into a universal crawl-space design rule.
The useful sizing question is whether the proposed system can maintain the agreed conditions throughout the crawl space after manageable moisture sources have been addressed. That question includes air distribution, controls, drainage, and the actual environment.

Start with the enclosure and water sources
Before calculating capacity, establish where moisture comes from. Look at the ground cover, foundation, plumbing, outdoor drainage, and visible water evidence. If the crawl space is routinely receiving liquid water, a larger dehumidifier should not be the first response to the missing drainage or repair work.
PNNL’s crawl-space floor guidance places bulk-water management before an enclosure retrofit. A useful equipment assessment follows the same logic. Record the known source, the proposed repair, and whether the sizing recommendation assumes that repair has already been completed.
An exposed soil floor and a well-detailed ground vapor barrier are different moisture situations even when the footprint is identical. Similarly, unrestricted humid outdoor air can create a different load from an appropriately enclosed space. The necessary building approach depends on the home, climate, code, and any flood or combustion requirements; do not seal openings casually because a product guide says to close the space.
Keep evidence of visible moisture separate from the humidity log. A sensor reading cannot explain whether a wet patch came from condensation, plumbing, or rain. Photographs, dates, and weather observations help an installer distinguish those possibilities.
Gather a useful site description
| Information to collect | Why it matters | Useful way to record it |
|---|---|---|
| Crawl-space footprint | Establishes the area being evaluated | Sketch each section rather than copying the home’s listing area |
| Approximate height and obstructions | Describes volume and equipment access | Note low beams, ducts, piers, and narrow routes |
| Enclosure and ground-cover condition | Helps identify incoming moisture | Photos of seams, penetrations, walls, and visible damage |
| Temperature and RH over time | Shows actual operating conditions | Dated readings with sensor locations and weather notes |
| Separate compartments | Identifies distribution limits | Draw connecting openings and blocked air paths |
| Drainage destination | Defines a workable equipment arrangement | Mark elevation changes and the proposed route |
| Existing equipment behavior | Provides evidence from the home | Record settings, runtime observations, faults, and available collection data |
You do not need a perfect engineering survey to start. You do need more than “about 1,500 square feet and damp.” A simple measured sketch and a short log usually make the next discussion far more concrete.
Use the actual crawl-space area. A two-story home’s advertised floor area may include both living levels while the crawl-space footprint corresponds to only part of that total. Extensions, slabs, and separated foundation sections can create further differences.
Record temperature beside humidity
Relative humidity changes with temperature. A warmer area can show a lower RH reading than a cooler one even when their air contains a similar amount of water vapor. Recording only the percentage makes it harder to distinguish changing weather from a changing moisture source.
Use a monitor that can record both temperature and RH, and allow it to stabilize according to its instructions. Keep it away from the immediate dehumidifier discharge, surfaces that can wet the sensor, and a vent that samples outdoor air instead of the space you intend to assess.
Compare more than one position if the layout is divided. A useful initial survey checks a representative open area and another location beyond a major obstruction. A logger can reveal whether humidity rises after rain, during cooler periods, or in only one section.
Our crawl-space humidity guide explains the difference between RH, dew point, and material moisture. A monitoring record does not replace a professional assessment, but it gives that assessment a stronger basis than a single reading near the hatch.
Compare ratings at the same conditions
An extraction number is meaningful only alongside its test temperature and humidity. Manufacturers may present a warm-condition AHAM-style figure, a saturation figure, or a rating associated with a different standardized procedure. These should not be mixed in one column as equivalent capacity.
ENERGY STAR’s testing explanation describes the change from 80°F to 65°F for portable-unit testing. The cooler test can produce a lower reported capacity without indicating that the product has physically become less capable than its earlier rating suggested.
For a simple comparison, take the blue AlorAir HD55 and the built-in-pump HDi90. Their published 80°F / 60% RH values are 53 and 90 pints per day, respectively. Comparing those values at matching conditions is more useful than contrasting the HD55’s saturation headline with another brand’s cooler-condition rating.
Use our AHAM versus DOE explanation for the standards question and saturation versus AHAM guide for warm, very humid headline figures. Neither guide creates a universal conversion factor for your actual crawl space.
Do not turn an “up to” area claim into a formula
A manufacturer’s maximum coverage statement can help screen products, but it does not fully describe the assumptions behind the recommendation. The home’s enclosure, climate, temperature, moisture sources, and target conditions may differ from those assumptions.
Dividing a pint rating by the advertised area and applying the result to every crawl space creates false precision. That ratio does not tell you how much outdoor air enters, whether the ground is covered, or whether the equipment can circulate air to a separate bay.
When a product’s literature gives a selection method, use it in the application it describes. If the recommendation comes from a contractor, ask what conditions it assumes. A satisfactory answer should connect the model to the home and explain any relevant limitations.
The important distinction is between an estimate useful for shopping and a design decision useful for installation. A preliminary shortlist can use broad equipment classes; the final purchase should reflect the measured site and a workable system plan.
Temperature can narrow the equipment options
A dehumidifier’s minimum allowed temperature and its capacity at that temperature are different facts. Being permitted to operate in cool air does not mean the machine removes water at the same rate as its 80°F rating. Defrost behavior can also affect how it operates when conditions are cool.
If your crawl space spends significant time below the conditions used for the main capacity claim, ask for cooler-condition performance information. Where that information is unavailable, avoid assuming the advertised rating still applies. Our cold-basement guide explains the same equipment issue in another below-grade application.
Also check the full operating range and instructions for the exact generation. Similar names can hide different hardware or documentation. The rating shown on a retail image is not a substitute for the manual and nameplate of the actual equipment.
Do not add improvised heating merely to make a shortlisted appliance work. If the site is outside the intended operating conditions, reassess the building and equipment approach with an appropriate professional.
Air distribution can be the limiting factor
A crawl space divided by foundation walls or obstructed by ducts may not behave like one open room. Drying one bay does not guarantee that another reaches the same conditions. A high-capacity machine can remain unsatisfactory if its air simply recirculates through the easiest nearby path.
Identify the connections between sections. Record where airflow is restricted and whether the proposed system depends on duct accessories. Ducting needs to follow the equipment’s permitted layout and pressure limitations; arbitrary long flexible runs can undermine the intended arrangement.
The solution may involve a better position, an approved distribution layout, or separately controlled areas. It is not automatically solved by moving to the next larger pint rating. Our placement guide addresses this distinction.
Before ordering two units, ask whether the underlying issue is genuinely separate zones or simply poor circulation. Two machines create two drains, two service locations, and two controls. Those can be justified, but the decision should come from the layout rather than an assumption that more equipment is always better.
Three examples of how similar footprints lead to different decisions
An enclosed crawl space with stable moderate humidity: A compact machine may be appropriate if its documented performance suits the temperature and moisture load. A clear gravity drain and open layout can make ownership relatively straightforward. The cabinet’s maximum coverage statement still needs to be checked against the measured conditions.
The same footprint with exposed ground and rainwater entry: The first task is source control. Choosing a larger unit without correcting the water situation can create a costly attempt to manage symptoms. The capacity recommendation should be revisited after the source work, rather than pretending the repaired and unrepaired spaces have the same load.
The same footprint split into isolated sections: Distribution becomes central. A higher rated machine in one bay may not control the far section. A professional can assess whether approved ducting, relocation, or a different arrangement is needed.
These are illustrative cases, not numerical sizing prescriptions. They show why the footprint belongs in a description of the site rather than at the top of a single calculator that claims to settle the entire purchase.
Build capacity margin without buying blindly
Some reserve capacity can be useful for variations in weather and operating conditions. However, a meaningful margin depends on a sensible initial assessment. Buying the largest model available is not a substitute for identifying sources, air distribution, and the temperature range.
A bigger cabinet may create costs elsewhere: harder access, a more awkward service route, or extra installation work. It can also change the equipment choice without solving an incoming-moisture problem. Keep these practical consequences visible when evaluating an upgrade.
Ask the installer what would happen during unusually humid conditions and how performance will be checked. An answer based on the home’s measurements and the manufacturer’s information is more valuable than a promise that an oversized unit will handle anything.
If deciding between two models, use our HD55 versus HDi90 comparison as an example of how to assess capacity, drainage, and physical fit together. The higher rated model makes sense where its additional capacity has a specific purpose.
Evaluate existing equipment before replacing it
If a unit already operates in the crawl space, record what it does before concluding that it is undersized. Check the accessible filter, air openings, control setting, and drain according to the manual. An obstructed filter or stopped drain can prevent satisfactory operation without proving the extraction class is too small.
Compare independent sensor readings from more than one position. If the area close to the machine reaches the target but a distant section does not, investigate distribution. If the whole space remains humid, investigate incoming moisture, actual operating conditions, and equipment behavior.
Available water-collection data can provide context, but it needs interpretation. A bucket volume is not necessarily a twenty-four-hour extraction test, particularly if the machine stopped when the bucket filled. Drain measurements are also not a reliable performance study unless time, conditions, and the method are controlled.
Do not disable an existing unit for days simply to create a baseline if that would allow damaging conditions to return. Useful observations can be gathered during normal operation and shared with the installer.
Commission the recommendation and monitor the result
After installation, record the setting, sensor locations, temperature, and representative humidity readings. Confirm drainage and control behavior through the proper startup procedure. Compare multiple sections rather than accepting the machine’s display as the only result.
Initial operation can differ from steady-state operation because damp materials and the environment need time to respond. Avoid promising a universal number of hours to reach the target. The relevant question is whether the trend and eventual conditions match the plan.
Continue checking through representative weather and seasonal changes. If the remote bay remains humid, or conditions rise sharply after rain, return to the source and distribution assessment before lowering the control repeatedly or buying another machine.
For target-setting context, the EPA’s moisture guide advises indoor RH below 60%, ideally 30%–50%. A professional may need to evaluate the appropriate target for the crawl space and its materials rather than applying a living-room comfort target mechanically.
A sizing recommendation you can actually review
Before accepting a model, ask for five things: the area being controlled, the assumed moisture sources and enclosure, the relevant performance conditions, the proposed air and drainage paths, and the method used to check the result. These details turn a capacity suggestion into a reviewable installation plan.
Also confirm the equipment can enter and be maintained. Our low-profile guide addresses hatch dimensions and installed clearance; drainage is covered in the gravity-versus-pump guide.
Once those requirements are satisfied, compare suitable models by complete cost and support. Sizing is successful when the equipment maintains the intended environment throughout the crawl space under real conditions, with a drain and service arrangement that remain workable after the purchase.
Selected sources
- ENERGY STAR: Dehumidifier buying guidance
- ENERGY STAR: Testing and capacity
- PNNL: Water management of existing crawl-space floors
- EPA: A brief guide to mold, moisture, and your home
- AlorAir HD55 Blue specifications
About the author
Davis Murphy
Davis Murphy writes about dehumidifiers, indoor humidity, and home moisture control at MoistureGear Guide. His articles explain how to compare equipment, understand capacity ratings, and plan for drainage and maintenance. He focuses on clear, practical guidance to help readers choose a dehumidifier suited to their space and needs.