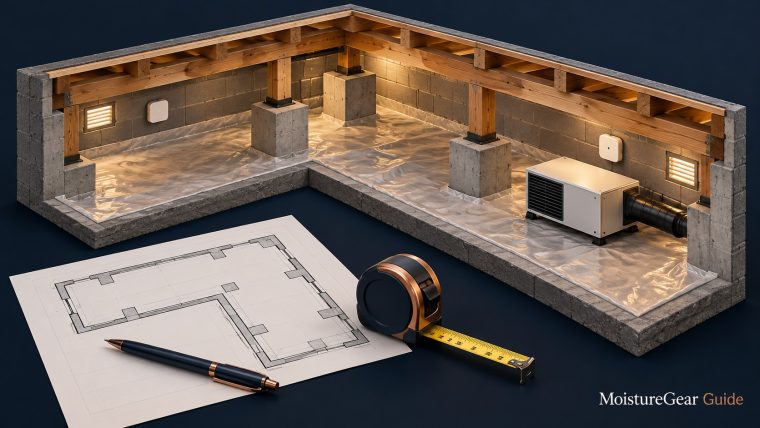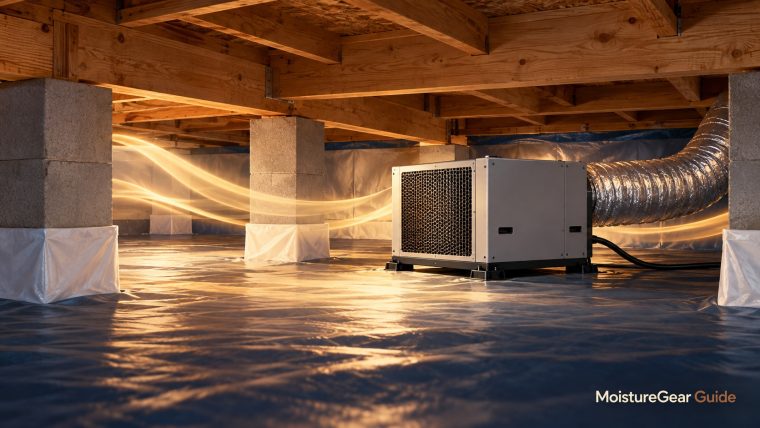
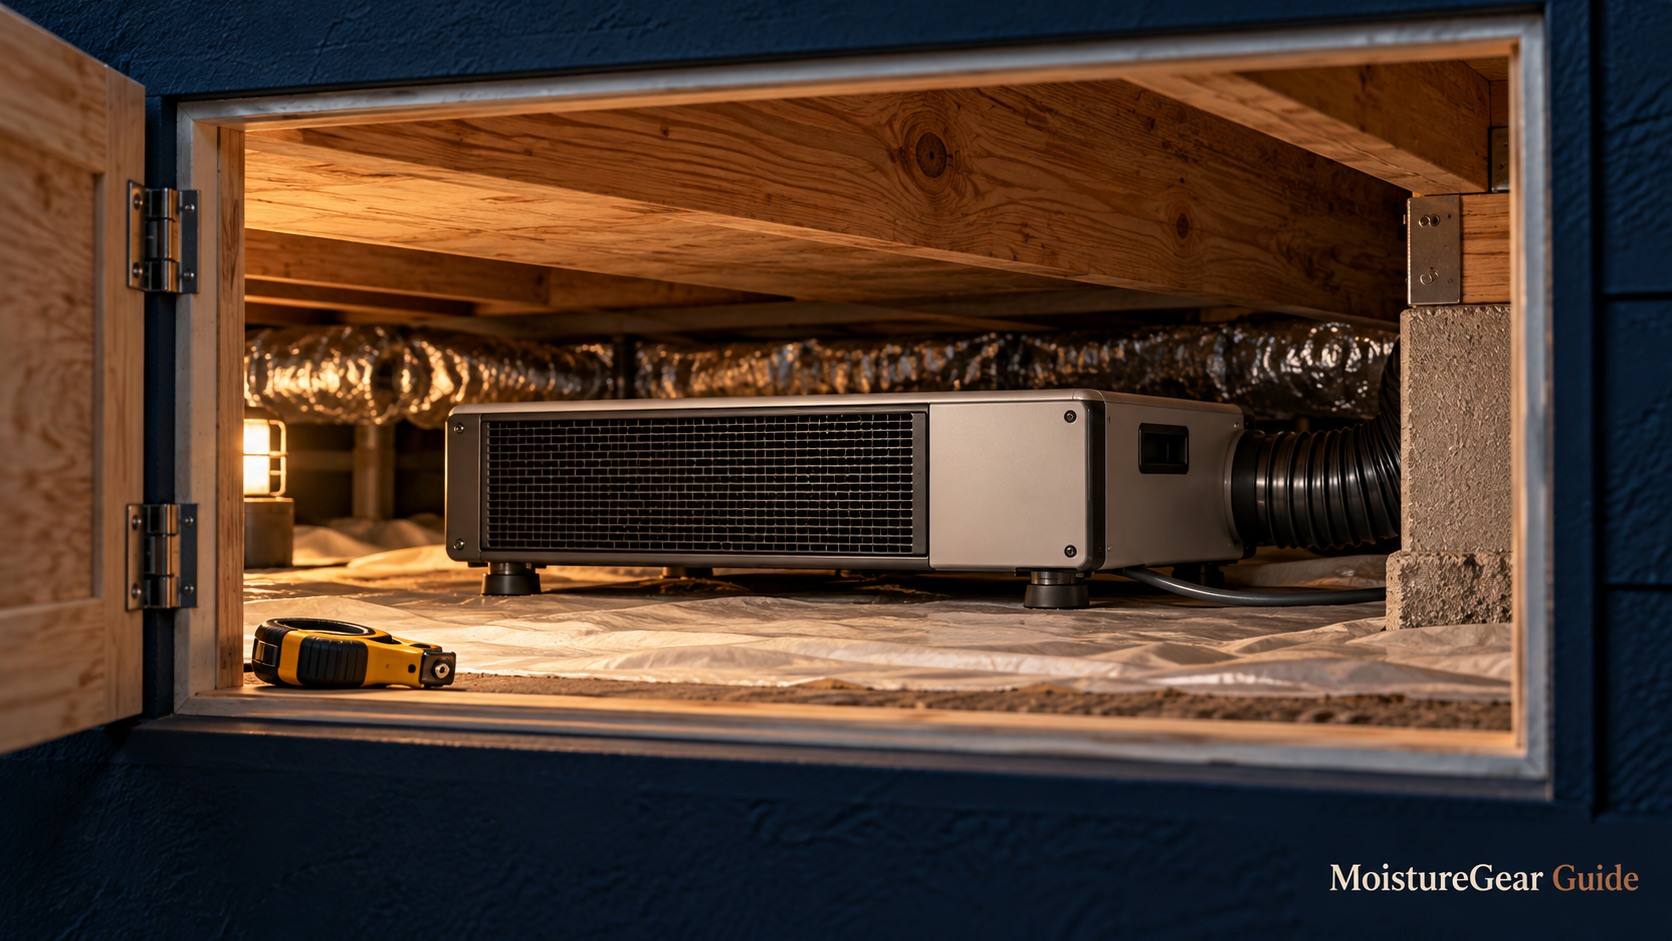
A low profile crawl space dehumidifier is useful only when the complete installation fits: the cabinet, its supports, the drain connection, the air path, and the space needed to remove the filter. Height is an important first measurement, but choosing the shortest machine without checking those other details can leave you with equipment that is awkward to use and difficult to service.
This guide focuses on tight access and low clearance. It compares compact equipment by physical dimensions, then walks through a practical measurement process. If you need the broader buying decision, our crawl-space dehumidifier hub brings together the capacity, humidity, and drainage guides.
Selection method: We reviewed manufacturer dimensions and documentation on October 13, 2026. The shortlist identifies cabinets worth measuring against your site, not independently tested winners. Published dimensions exclude installation clearances and may exclude accessories; verify the exact part number, generation, and installed arrangement before ordering.
Low-cabinet options to investigate
| Model | Published cabinet height | Other published dimensions | Drain arrangement | Fit question that matters most |
|---|---|---|---|---|
| Santa Fe Compact70 | 12 inches | 12 W × 21 D inches | Gravity; optional external pump kit | Is there enough room beyond the low cabinet for the drain and filter? |
| AlorAir Sentinel HD55, blue gravity model | 13.3 inches | 19.2 L × 12.2 W inches | Gravity | Can the drain remain correctly arranged after supports are added? |
| AlorAir Sentinel HDi65S, non-Wi-Fi | 13.3 inches | 19.2 L × 12.2 W inches | Integrated pump and gravity options | Can the discharge connection and pump be reached for inspection? |
| AprilAire E080, non-Wi-Fi | 15 inches | 14 W × 26 D inches | Gravity; external pumping if required | Does the longer cabinet and any planned ductwork fit the route? |
Dimensions come from Santa Fe’s current product catalog, AlorAir’s HD55 specification sheet, the HDi65S product page, and the AprilAire E080 manufacturer page. These are cabinet measurements, not minimum crawl-space heights.
The larger AlorAir HDi90 is 17.7 inches high in the manufacturer’s published dimensions. It may still suit a crawl space with comfortable clearance, but it is not the first model to investigate when the principal constraint is height. Compare the actual site rather than assuming any product marketed for crawl spaces will fit.
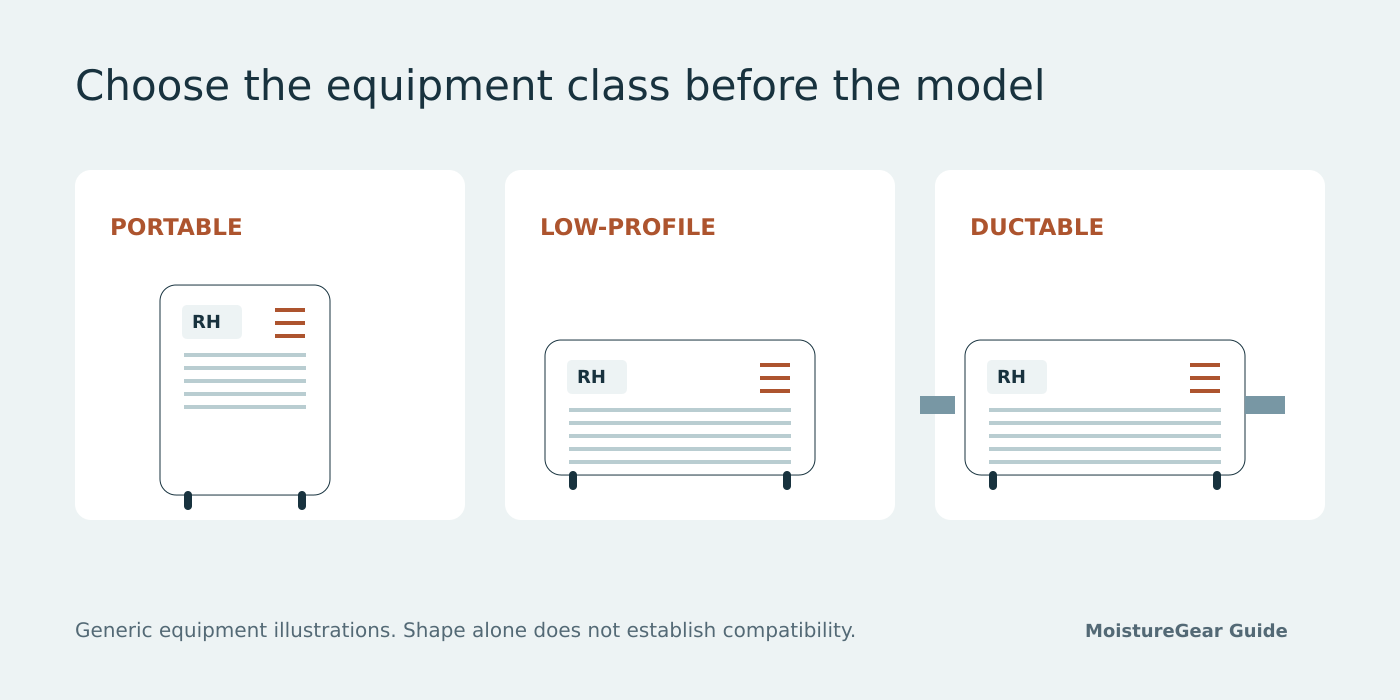
Santa Fe Compact70: the lowest cabinet in this shortlist
The Compact70 earns attention here because of its low cabinet height. A twelve-inch case gives you a promising starting point under tight clearances, especially where a taller machine would be difficult to move into position. That physical advantage is independent of whether the unit is the best capacity match for the crawl space.

The qualification is drainage. A gravity-draining cabinet needs the outlet and drain arrangement described in its manual, with adequate height and space for the required components. Adding a pump kit also creates a second piece of equipment to place and inspect. An external reservoir does not disappear simply because the dehumidifier itself is short.
Filter access is equally important. Determine where the filter comes out and allow room to remove it without dismantling the support or drain line. Santa Fe’s installation literature illustrates why airflow, drain, and service space matter around the cabinet. Obtain the manual for the current generation rather than copying every dimension or requirement from older literature.
Investigate the Compact70 when its capacity suits the measured conditions and the low case helps solve your access problem. Keep comparing if its service side or drainage configuration cannot fit comfortably. A low case surrounded by obstacles is not an accessible installation.
AlorAir Sentinel HD55: a small case where gravity drainage works
The blue HD55 is another candidate for restricted access. Its published cabinet is 13.3 inches high, with a relatively compact floor footprint. That can make it easier to position in a smaller open bay, particularly when the drain is close and below the appliance.

Do not infer that the model name guarantees 55 pints per day in the current blue version. Its documentation gives 53 pints at 80°F and 60% RH; HD55S and other relatives are separate configurations. Our HD55 review explains the specification and version differences without treating them as interchangeable products.
The fit decision hinges on the gravity outlet. If you need to raise the unit to obtain the permitted drainage route, include that support height in the measurement. A short cabinet on a tall platform may use more vertical space than another arrangement. The best location may be slightly farther from the hatch if it offers a workable outlet position and easier filter access.
This is a sensible starting point where a small machine suits the load and downhill drainage is uncomplicated. If a hose must rise above the outlet, compare a pump option instead of improvising a drain route that relies on trapped water or an unsupported siphon assumption.
AlorAir Sentinel HDi65S: compact dimensions with pumping available
The non-Wi-Fi HDi65S offers the same published cabinet dimensions as the blue HD55, while the manufacturer documents integrated pumping and a gravity option. For a buyer whose main obstacle is an elevated discharge destination, that may be more useful than shaving a small amount from cabinet height.

The equipment still needs service space. Identify the outlet fittings, controls, filter-removal direction, and the side needed for authorized pump attention. Pumped tubing can negotiate a route that gravity drainage cannot, but it should remain supported, appropriately sized, and accessible as the manual requires.
Keep the model choice specific. A black Wi-Fi version or a differently named pump model may have different documentation and supplied accessories. Confirm that the listed measurements belong to the SKU you are buying. Product-family pages and marketplace variation selectors can otherwise blur a careful comparison.
We would investigate this option when its published capacity fits the assessment and compact pumping solves the drainage problem. If neither drainage nor lift demands a pump, the extra feature may not add value. Our pumped crawl-space buying guide gives that decision more attention.
AprilAire E080: a professional option when length is available
The E080 is not the shortest cabinet in the table, but it may be worth considering when an installer is planning a permanent system and the crawl space has more usable length than height. The manufacturer lists a fifteen-inch cabinet height and a twenty-six-inch depth. Those measurements describe a different fit proposition from the smaller AlorAir units.

Think about the direction of airflow, drain access, and control visibility rather than treating the case as a featureless rectangle. Any duct collars, bends, or service arrangements need to fit as well. The equipment should be evaluated in the orientation and configuration allowed by the actual E080 manual.
The manufacturer’s page directs buyers to AprilAire professionals. If you compare an installed system with a marketplace equipment listing, establish exactly what each offer includes and what support applies. A short cabinet is not a reason to ignore installation requirements or the seller’s warranty position.
The E080 is a candidate for a professionally planned arrangement with adequate room around the longer cabinet. It is less appealing if the route from the hatch contains tight turns or if the intended position cannot accommodate the complete installation. Our E080 research review covers its equipment and ownership considerations.
Measure five places, not just the hatch
Start with the access opening in its usable condition. Measure the clear width and height after accounting for hinges, trim, hardware, or anything that cannot simply be moved aside. A nominal hatch size and its actual passable opening may differ enough to decide whether a cabinet can enter.
Next measure immediately inside the opening. A pier, duct, or pipe close to the hatch may prevent the machine from being maneuvered into the crawl space even if it passes through the opening itself. That first turn is easy to overlook when you only compare two width numbers.
Third, measure the narrowest passage to the proposed position. Include low beams, duct runs, changes in floor level, and the space between supports. The route should accommodate the approved handling orientation and the people moving the equipment.
Fourth, measure the final position at the lowest relevant overhead point. The crawl space may be taller nearby but shallow precisely where the equipment would sit. Finally, measure the service space around that position: the filter side, electrical access, drain connections, and a place for a person to work.
Do not modify structural members, ductwork, or wiring to force a purchase through a bad route. An installer can help choose a suitable location or equipment configuration before those compromises arise.
Use an installed-envelope drawing
Create a simple plan and side view of the proposed installation. Draw the cabinet, its support height, the required clear areas, the drain outlet, and any duct accessories. Place the drawing beside your measured crawl-space dimensions. This reveals conflicts that a single height comparison will miss.
A lightweight cardboard mock-up can help communicate cabinet dimensions without moving an appliance through the route. Treat it as a planning aid, not proof that the equipment can be handled identically. The real unit has weight, vulnerable fittings, a power cord, and transport instructions that the mock-up does not represent.
If the installation requires a drain pan or external pump, include it in the drawing. If you plan to suspend equipment, include the support kit and its necessary space. The vertical relationship between the drain outlet and other components may decide how much clearance you actually need.
Ask the installer to mark the space needed for service. A drawing with only a cabinet squeezed under a beam is incomplete. The useful outcome is a position where the machine operates correctly and can be maintained without repeatedly relocating it.
Why a low case may still need significant clearance
The cabinet needs an air inlet and an outlet. Blocking either can undermine the intended airflow, regardless of how neatly the equipment fits beneath the floor. The direction matters: a wall close to the discharge creates a different obstacle from a wall beside a closed panel.
There is no universal clearance number for all crawl-space dehumidifiers. Use the exact manual’s requirements and distinguish airflow clearance from filter-removal or repair access. A manufacturer may describe these separately because each serves a different purpose.
The supports matter too. A platform or approved suspension arrangement should preserve the operating orientation and stability. It should not distort the cabinet, obstruct vents, or make a connection difficult to inspect. These are reasons to plan the complete installation rather than resting the unit wherever the space happens to be highest.
Our crawl-space placement guide explains how the inlet, outlet, drain, and access route work together. Finding a lower cabinet sometimes solves the problem; changing the location or distribution plan may solve it better.
Tight access does not reduce the moisture load
A small opening can restrict the available equipment, but it does not establish how much capacity the crawl space needs. Avoid choosing the smallest cabinet and then assuming its maximum coverage claim settles the sizing question. Measure the conditions and evaluate the enclosure first.
For the rated extraction comparison, the current blue HD55 is 53 pints per day, the HDi65S is 55, and the Compact70 is 70 when stated at 80°F and 60% RH. Those are specific published test figures, not daily collection promises. Cooler air and a different humidity level change performance.
ENERGY STAR’s capacity guidance explains why test temperature matters. Do not compare one product’s cooler-temperature rating with another’s warm-condition headline without labeling both. Likewise, do not interpret a model’s marketing name as a standardized rating.
If the small cabinet cannot serve the assessed demand, consider how a qualified installer might improve air distribution or provide suitable equipment elsewhere. Do not assume two small units are automatically better than one larger unit; control, drainage, and the separation between sections need to be considered.
Gravity drainage can consume your headroom
A low-profile gravity machine may need elevation to obtain the drain arrangement specified by its manual. The height gained at the outlet is useful only if the downstream route can continue correctly. A support platform does not solve a later rise in the hose.
Include connections and any required drain configuration in the installed envelope. Some equipment manuals require a trap; other arrangements use different provisions. Do not carry a requirement from one brand to another merely because both have gravity outlets.
If the needed support uses too much vertical space, a pumped arrangement may change the options. An integrated pump can reduce dependence on a downhill route, while an external pump needs a suitable gravity connection from the appliance to its reservoir. Each has its own geometry and service requirements.
Before purchasing accessories, work through the drainage comparison. The lowest cabinet is not always the lowest complete installation once the water route is included.
Preserve a route for inspection and replacement
Crawl spaces often become harder to navigate after equipment is added. A hose placed across a passage, a hanging cable, or an external reservoir near the hatch can obstruct the route used for other building maintenance. Plan the appliance so that it does not create a new access problem.
Protect the ground liner according to its installation requirements. Dragging a heavy machine across it can create damage that contributes to later moisture problems. Handling and support deserve attention during the initial installation, not only when something goes wrong.
Keep the filter and routine inspection points reachable from a practical working position. If checking a drain requires crawling across the entire house every time, consider whether a different location or monitoring arrangement would improve ownership. An accessible pump can be useful, but it does not remove the need to inspect the dehumidifier.
Also plan how the appliance will leave the crawl space. Save the access measurements and photographs with the model details. A future service visit is easier when the technician knows the equipment route and the components that can be disconnected through the proper procedure.
Three fit scenarios to compare
A very low but open bay: The Compact70’s cabinet height makes it worth measuring first. Confirm its current manual, support, outlet arrangement, and filter access. The low height is useful only if the air path and drain remain practical.
A narrow route with an elevated discharge: The HDi65S may be attractive because it combines compact published dimensions with integrated pumping. Measure the actual route and confirm the pump requirements instead of assuming that the hose can be extended indefinitely.
A larger usable bay beyond a tight entrance: A low cabinet does not eliminate the entrance constraint. Measure both the first turn and the complete route. An E080 may fit its final location but remain difficult to bring in; a smaller cabinet may be the practical equipment choice if its capacity and arrangement are appropriate.
These are planning examples, not sizing recommendations for every home. In each case, compare the measured humidity demand through our crawl-space sizing guide before choosing equipment on physical fit alone.
What to ask a seller or installer
Ask whether the published dimensions include feet, fixed handles, fittings, or duct collars. Request the exact manual and part number. If the seller answers with a general product-family brochure, continue until the measurements can be matched to the actual unit.
Ask which sides need access and whether an authorized technician would remove the whole cabinet for service. Ask where the support, pump, and drain will sit, and whether the resulting arrangement can be reached without disturbing the building’s enclosure.
For a professionally installed option, ask for a drawing of the proposed position. It need not be elaborate, but it should show the cabinet, air path, supports, and drainage destination. That makes an installation quote easier to evaluate and reduces ambiguity about what fits.
When comparing marketplace offers, check the bundle contents rather than the photograph alone. A listing may show optional accessories, and similar model names can cover different generations. Buy the arrangement you verified, not a superficially similar variation selected at checkout.
Making the final choice
Begin with the tightest point in the route, then work toward the installed position. Shortlist cabinets that can enter safely and remain accessible. Check the complete water route and service envelope, then confirm that the chosen machine suits the measured environment.
If the main constraint is cabinet height, investigate the Compact70 and compact AlorAir options. If the installation needs professional ducting or a permanent system, consider the E080 within an installer’s plan. If none can operate and be serviced correctly, reassess the location or system approach before ordering.
The successful low-clearance installation leaves room for the work that follows the purchase. A machine that fits comfortably, drains correctly, and can be maintained is a better choice than one that merely squeezes beneath the lowest beam.
Selected sources
- Santa Fe 2026 product catalog
- AlorAir Sentinel HD55 Blue specification sheet
- AlorAir Sentinel HDi65S product page
- AprilAire E080 official product page
- ENERGY STAR: Dehumidifier testing and capacity

About the author
Davis Murphy
Davis Murphy writes about dehumidifiers, indoor humidity, and home moisture control at MoistureGear Guide. His articles explain how to compare equipment, understand capacity ratings, and plan for drainage and maintenance. He focuses on clear, practical guidance to help readers choose a dehumidifier suited to their space and needs.