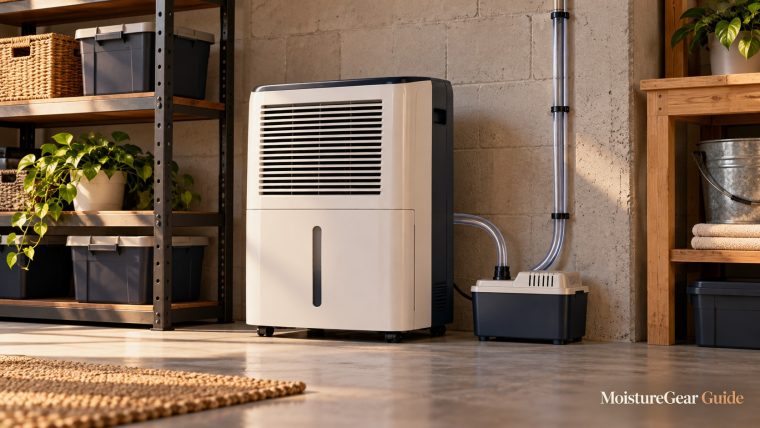
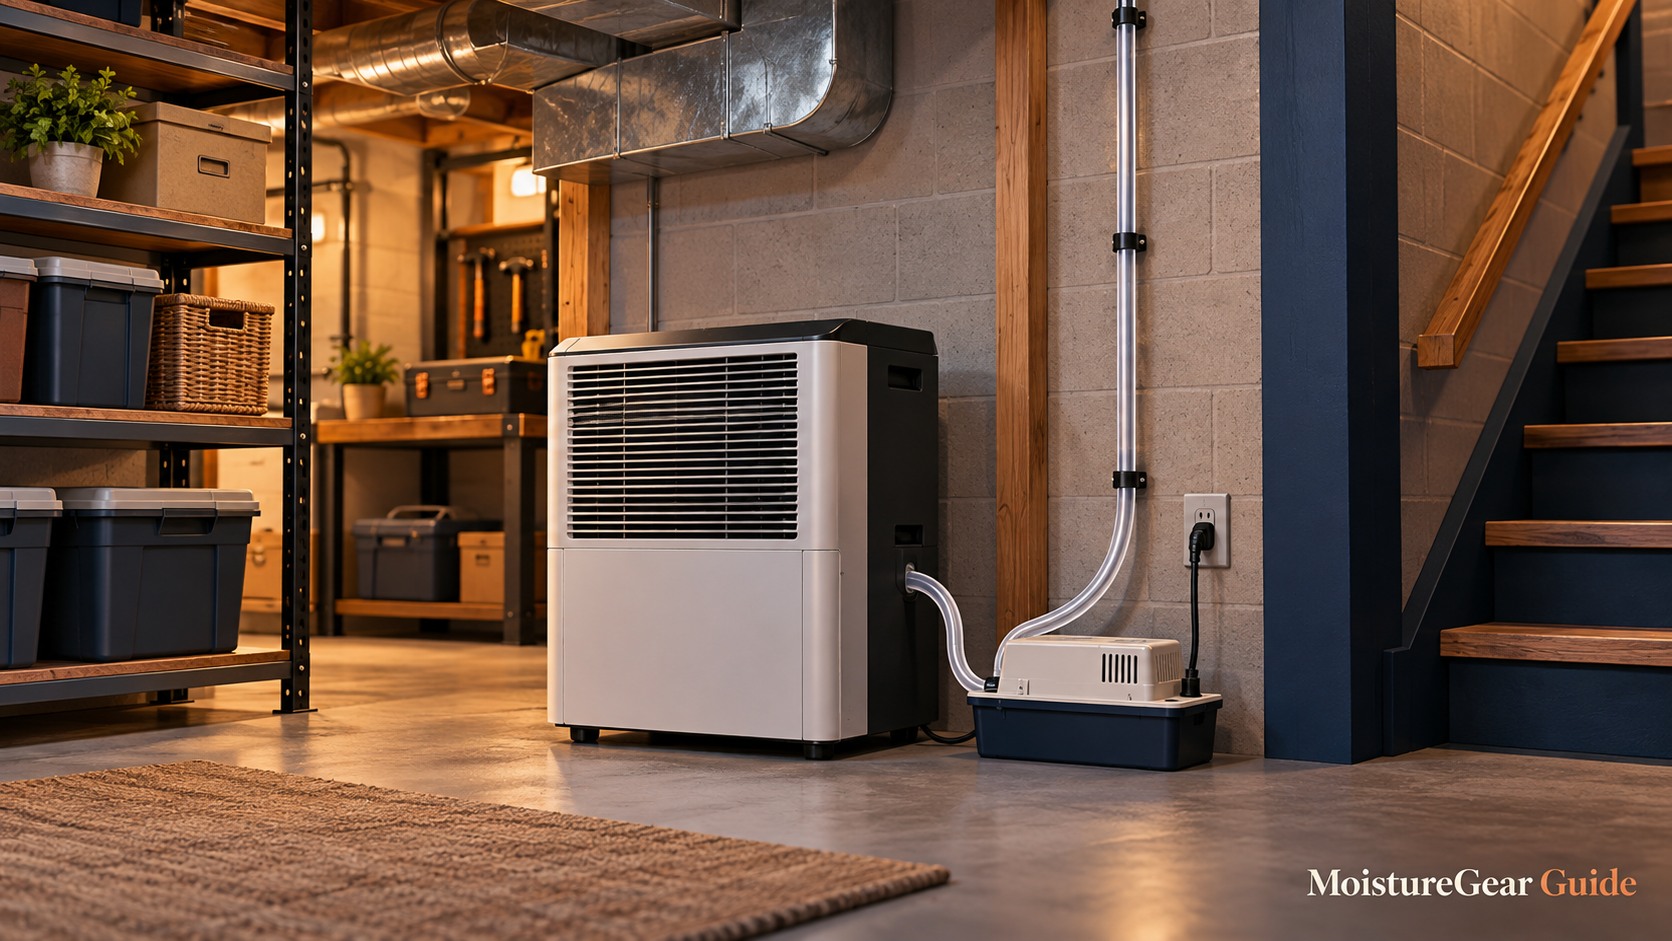
Choosing a dehumidifier for a basement without a floor drain begins with the water destination. You may be able to use an elevated utility sink, a professionally connected condensate route, a suitable sump arrangement, or regular bucket collection. An integrated pump or external condensate pump can move the water, but neither creates a suitable place for it to go.
That makes this a drainage-planning guide rather than another ranking of pump appliances. Once the route is established, our pump-equipped basement shortlist helps select the appliance. The basement dehumidifier hub covers capacity, temperature, and placement alongside that decision.
The advice below is grounded in manufacturer manuals and primary building guidance. Any fixed plumbing connection or change to the building needs to suit local requirements and the existing systems. The examples are decision scenarios, not instructions to alter drains, sump covers, or electrical wiring yourself.
Walk the basement before shopping
List every possible receiving point and how it is used. A laundry sink might be convenient but regularly blocked by washing. A sump may already have a sealed cover connected to a radon system. A bathroom sink behind a closed door can create both hose-routing and access difficulties.
Sketch the proposed appliance location, each destination, and the path between them. Include doorways, shelving, steps, and areas where people walk. Measure the highest point water would need to reach rather than only the final outlet's height.
Separate the air problem from the water problem. The best place to dry the basement may not be beside the easiest drain. This is often the reason a pump becomes worthwhile: it lets equipment sit where it can circulate air while water travels elsewhere.
Identify where electrical power is available, but do not route drain tubing over outlets or use an extension cord simply because the dry location is farther away. ENERGY STAR’s setup guidance emphasizes appropriate electrical supply and separation of drainage from electrical connections.
An incomplete route sketch is a useful finding. It means you need an installation decision before an appliance decision, and it can prevent a return or a makeshift solution later.
Your main drainage choices
| Arrangement | When it can fit | What it adds to ownership |
|---|---|---|
| Appliance bucket | You visit regularly and can safely carry the collected water | Emptying and drying interruptions when full |
| Gravity hose to a lower approved receiving point | A continuous downward route exists | Hose inspection and a suitable destination |
| Integrated appliance pump | The destination is above the unit but within its limits | Pump mode, pickup or reservoir care, tubing checks |
| External condensate pump | Gravity water can enter a separate pump reservoir | Additional equipment, power, compatibility, and overflow planning |
| Permanent drain work | The property needs a durable fixed arrangement | Professional planning, installation, and future access |
No row is universally best. A small seasonal load and regular visits can make bucket use reasonable. A house that sits empty for long periods requires a more dependable routine than relying on someone remembering to empty water.
Option one: keep bucket collection when it suits the household
A bucket is the simplest way to begin because it uses the appliance's intended water-collection system. It is also useful while you decide whether a permanent route is worthwhile.
Think through the handling. Where will you empty it? Can you carry it there without using stairs or passing electrical equipment? Does another household member need to do the task when you are away?
Automatic full-bucket shutoff normally pauses drying until the container is emptied and replaced. That is useful protection within the appliance, but it means the room's humidity can rise while the machine waits.
A larger bucket changes the time between visits; it does not change the dehumidifier's daily capacity. A big container can also be heavier to handle. Consider the usable fill setting and your routine rather than treating maximum bucket volume as an unqualified advantage.
Do not bypass a float, remove a bucket sensor, or substitute an open storage bin beneath a portable that was not designed for that use. A reservoir inside a listed condensate pump is a controlled part of that system. A household tub is not.
Bucket collection is a sensible final choice when it remains manageable and the room stays controlled. It becomes a temporary choice when interruptions are frequent or the property is unattended.
Option two: look for a gravity route that does not need a floor drain
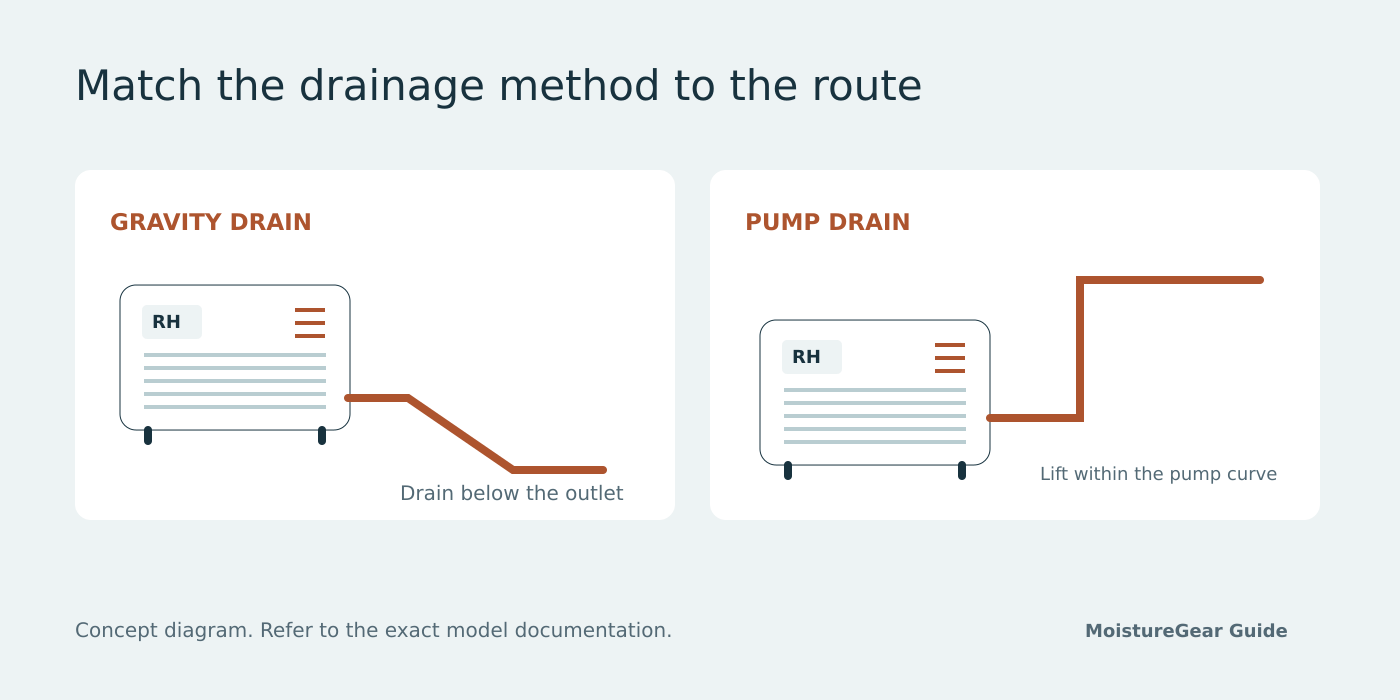
Gravity drainage does not specifically require a floor drain. It requires an appropriate receiving point below the appliance outlet and a suitable downhill hose path.
In some installations, a properly located receiving arrangement or condensate reservoir provides that lower point. In others, the available sink is higher than the outlet, so gravity will not do the job.
Check thresholds and hose support. A hose that descends for most of its length can still fail if it rises over a doorway. A sag can retain water, and a pinched section can stop drainage.
Do not lift the cabinet onto improvised furniture merely to create the required fall. The appliance needs a stable surface and must comply with its manual. A tall, water-filled portable on an unsuitable stand creates a handling problem that the drain hose does not solve.
The Danby DDR050BJP2WDB manual and the Midea Cube guide illustrate why gravity and pump connections should be identified correctly. Read the drawing for the model you intend to use.
The gravity versus pump article explains this choice in more detail. If the route relies on lifting water even once, an ordinary gravity outlet alone is not the answer.
Option three: use an integrated pump to reach a utility sink
A sink above the appliance is a common reason to consider a built-in pump. It can remove the recurring bucket task while preserving a practical floor location for the dehumidifier.
Start by confirming that the sink is an acceptable destination and remains usable. A discharge should not be placed where someone can unknowingly move the hose while cleaning, where a stopper blocks the receiving drain, or where laundry covers the tubing.
The pump's maximum lift belongs to the exact model. For instance, the manufacturer's model-specific Cube guide lists a 14-foot maximum pump height for the described arrangement. That information should not be borrowed for another appliance or used without considering the complete route.
Avoid designing to a maximum with no attention to tubing resistance, bends, and instructions. If the path goes overhead before descending to the sink, that higher point is part of the lift requirement.
The appliance also needs its intended collection setup. On the Cube, the pump and bucketless arrangements are distinct. A listing that offers both options does not mean they work together in any configuration.
Once this route is confirmed, select equipment for its moisture load and operating temperature. Our general basement guide prevents the drainage convenience from becoming the only purchase criterion.
Option four: pair a suitable dehumidifier with an external condensate pump
An external pump receives gravity-drained condensate into its own designed reservoir and then pumps it toward the destination. This can be useful when you own a working dehumidifier or want a permanent-style unit that does not include its own pump.

It introduces two routes rather than one. The dehumidifier-to-reservoir hose needs the required downward path. The pump-to-destination line needs to fit the pump's performance and installation limits.
Compatibility is not only a matter of connecting hoses that seem to fit. Check the permitted inlet arrangement, pump reservoir location, discharge tubing, electrical supply, and expected condensate flow.
The Little Giant VCMA-20-PRO manufacturer page identifies equipment intended for condensate from dehumidification applications when gravity disposal is unavailable. That is a category example, not a guarantee of compatibility with every portable.
Exact variants differ in voltage, tubing, and safety-switch provisions. An overflow switch also needs an appropriate integration or alarm arrangement; merely plugging in a pump does not automatically make the dehumidifier stop on a pump fault.
Have a qualified installer assess that integration where needed. Our condensate-pump buying guide compares the relevant specifications without treating shutoff head as the amount of water a pump can move at that height.
A sump is a system, not an open hole for a hose
Some basements use a sump as part of water management. Whether it can receive dehumidifier condensate depends on the existing installation, permitted discharge, and any associated radon controls.
A sealed cover may need to remain sealed. The EPA's radon-resistant construction guide addresses airtight sump covers while maintaining service access. Leaving a cover open to accommodate a hose can undermine the purpose of that arrangement.
Ask the installer responsible for the sump or radon system how a condensate entry should be handled. Avoid drilling an unplanned hole or wedging tubing under a gasket.
Service access matters too. A drain route should not prevent inspection, pump removal, or maintenance of the sump. The receiving system can fail independently of the dehumidifier, so your inspection plan needs to include it.
This is especially relevant when the appliance will run unattended. A working integrated pump cannot protect against every fault in the larger drainage system receiving its water.
Be cautious with outdoor discharge
Outdoor routing can look attractive when there is no visible indoor drain. It also creates questions about freezing, the building opening, tubing protection, and where water ends up.
Collected water should not be directed back against the foundation or into a spot that contributes to the moisture problem. A route through an open window may also allow humid outdoor air to enter while the machine works.
In freezing conditions, a blocked exterior hose can stop disposal. The Midea Cube guide specifically warns against outdoor pumping when the outside temperature is at or below freezing. That limit is independent of whether the basement itself is warm enough for appliance operation.
Do not assume a permanent hole through the wall is a simple accessory decision. The penetration and termination need to suit the building, weather, and applicable requirements.
An indoor approved destination may be a better long-term arrangement. If exterior disposal is selected, have the full route assessed and make seasonal limitations clear to everyone responsible for the equipment.
Three realistic planning examples
An open basement with a laundry sink across the room
The air path is relatively simple, but the sink is above the floor appliance. An integrated pump may fit if its documented lift and routing permit the path.
Avoid carrying tubing across a frequently used aisle. Plan support and securing points that do not compress the line. Check whether the sink is often filled with laundry or used with a stopper, then decide how the discharge can remain reliable.
If the necessary route becomes long or approaches the appliance's limit, compare an external pump arrangement or another acceptable destination before buying.
A finished basement with no sink in the main room
Here the closest drain may sit in a bathroom or mechanical room behind a normally closed door. Placing the dehumidifier beside that drain might solve water disposal while failing to treat the occupied area.
Assess both the air and tubing paths. A professional permanent setup might fit better than a portable whose hose blocks a doorway. Alternatively, a location in the open room with a permitted pump route may be sufficient.
Do not assume a bathroom sink is an acceptable fixed connection or alter the trap yourself. Describe the intended arrangement to a plumber or installer.
A storage basement used only occasionally
Bucket collection may interrupt control between visits. Remote settings are helpful only if water disposal continues correctly.
A pump route with visible, accessible connections can reduce the handling task, but the receiving point and overflow plan still deserve attention. Consider how you will inspect the installation and respond if a problem is indicated.
If there is no suitable destination, install one or arrange a different management routine. The unattended nature of the property makes an improvised container especially unsuitable.
Check the intended location before finalizing the drainage choice
A dehumidifier needs room to draw and discharge air. It also needs access for filters, controls, connections, and any bucket or reservoir used by the design.
ENERGY STAR advises keeping the equipment’s air path usable and placing drainage conveniently without creating trip hazards. The precise clearance remains a model-specific instruction.
Do not trade all that access for the shortest hose. A cramped corner can make the air near the appliance dry while a separate room remains humid. It can also hide the first signs of a leaking connection.
Our placement guide helps coordinate these needs. When drainage and airflow point toward different locations, a pump or planned ducted installation may be the way to reconcile them.
Build a purchase list around the route
Write down the exact dehumidifier model, gravity outlet or pump outlet to be used, permitted hose, receiving point, and the route measurements. If an external pump is involved, add its exact voltage and variant.
Check which parts are supplied and which are separate. A pump bundle with tubing is different from a pump-only offer. A dehumidifier drain fitting is not necessarily the same as a pump-discharge connection.
Confirm that the total setup preserves servicing space. If the pump will sit behind heavy equipment, consider how cleaning or replacement would actually happen.
Include any professional labor needed for connections, electrical supply, mounting, or building penetrations. A higher-quality drainage plan can be worth more than buying a fancier appliance and leaving its installation uncertain.
Keep current prices out of the planning assumptions until you know the scope. Price-check buttons can help compare offers, but the cheapest visible model is not necessarily the cheapest functional arrangement.
What if the receiving point changes later?
A drainage arrangement should be reassessed when the basement changes. Replacing a utility sink, moving laundry equipment, sealing a sump, or finishing a room can remove access to a route that previously worked.
Keep the installed tubing path and receiving point with the equipment documents. Before renovation, show them to the person planning the work. A drain hose hidden behind new cabinetry may be difficult to inspect even if no connection was deliberately changed.
If the new route needs greater lift or different tubing, compare it again with the exact pump instructions. Do not transfer the old setup's approval to the changed path.
This can also be a good time to reconsider the appliance location. A rearranged basement may need a different air path as well as a different water route, so assess the two together before buying replacement equipment or accessories.
Commission the water route before relying on it
After installation according to the relevant manuals, observe actual water collection and discharge. A dry-looking hose before the first cycle does not demonstrate that the system works.
Check the appliance connection, any intermediate reservoir, the full tubing route, and the receiving point while water moves. Inspect again after nearby laundry, cleaning, or storage activity that might disturb the line.
Confirm the expected response to a full-water or pump-fault condition using the manufacturer's approved procedure or the installer's commissioning process. Do not create a blockage deliberately to experiment with improvised protection.
Record what a normal cycle looks like. That makes a later change easier to recognize and explain. Our pump-not-draining guide provides safe user checks when discharge appears to stop.
Maintain the arrangement, not just the appliance
Cleaning a filter is only one part of ownership. A reservoir can accumulate debris, tubing can be pinched, and a receiving drain can be blocked by unrelated use.
Follow the cleaning instructions for each component. Pump manufacturers can specify different procedures from appliance manufacturers. A universal homemade cleaning mixture should not be applied to everything in the route.
Check for moved tubing after rearranging shelves or operating nearby equipment. Where the route passes through an access door, ensure normal use does not squeeze the line.
Review seasonal conditions. An exterior route that was acceptable in warm weather may not suit winter. A sink that was available before a renovation may become inaccessible afterward.
The best dehumidifier for a basement without a floor drain is ultimately part of a complete water-disposal plan. Resolve the destination, select the appropriate transfer method, then choose the appliance that can control the room.
Selected sources
- ENERGY STAR: water removal and safe setup
- Midea Cube MAD50PS1QWT-A drainage instructions
- Danby DDR050BJP2WDB drainage instructions
- Little Giant VCMA-20-PRO condensate applications
- EPA: Building Radon Out

About the author
Davis Murphy
Davis Murphy writes about dehumidifiers, indoor humidity, and home moisture control at MoistureGear Guide. His articles explain how to compare equipment, understand capacity ratings, and plan for drainage and maintenance. He focuses on clear, practical guidance to help readers choose a dehumidifier suited to their space and needs.